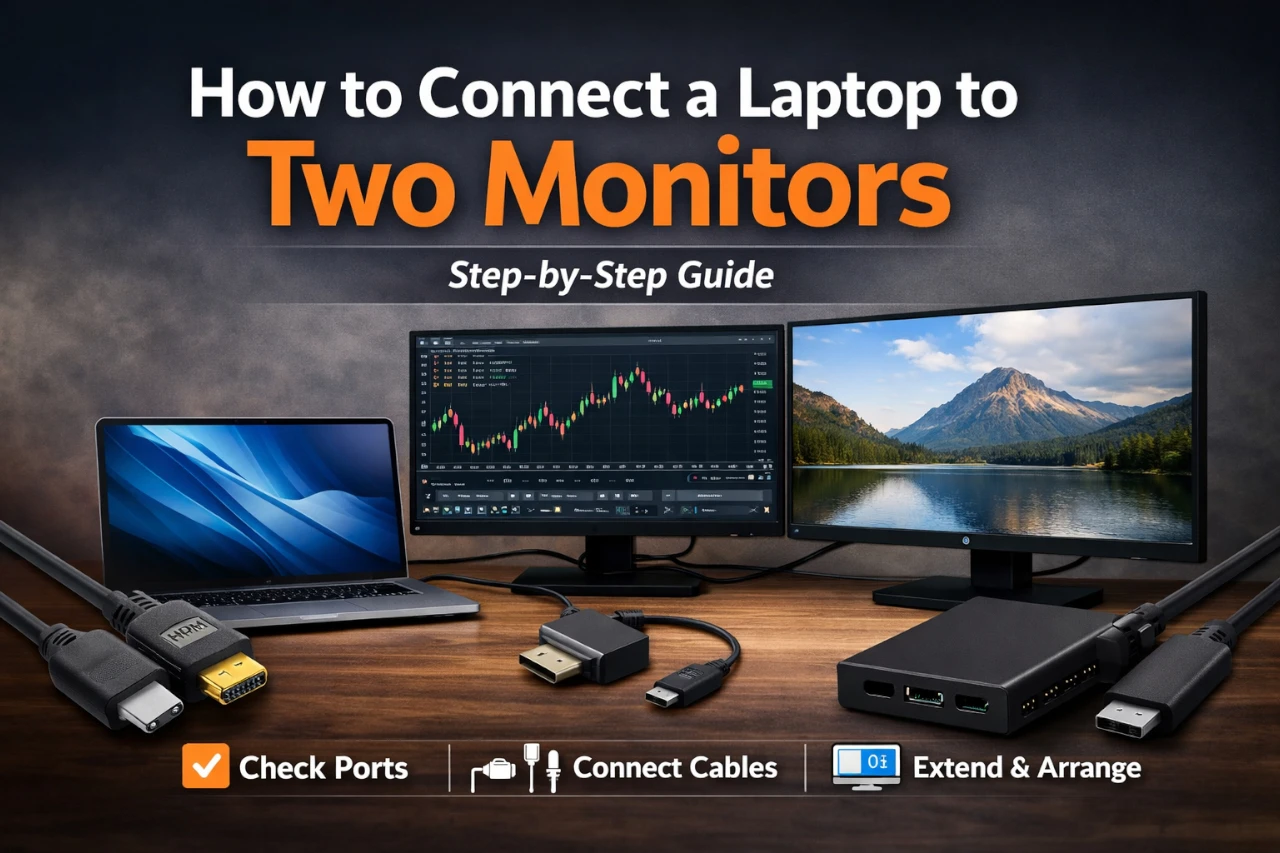
Connecting a laptop to two monitors is one of those upgrades that immediately changes how you work—more space for timelines, spreadsheets, research tabs, and chat without constantly alt-tabbing.
Quick Steps (fast reference):
- Check your laptop’s display ports and limits.
- Pick the right cables/adapter/dock.
- Connect Monitor #1 and confirm it’s detected.
- Connect Monitor #2 (or the dock) and confirm it’s detected.
- Set “Extend” and arrange screens in Display Settings.
In this guide, I’ll walk you through the exact steps I use, plus the real-world gotchas (wrong adapters, 30Hz surprises, “no signal,” mirrored screens, docks acting weird) and how to fix them.
What You’ll Need
- Two monitors (any mix is fine—1080p + 1440p, ultrawide + standard, etc.)
- Cables that match your laptop/monitor ports, commonly:
- HDMI to HDMI
- DisplayPort to DisplayPort
- USB-C to HDMI or USB-C to DisplayPort (video-capable USB-C)
- Optional but often helpful:
- A USB-C dock or Thunderbolt dock (especially if your laptop has limited ports)
- A power adapter for the dock (many docks behave poorly on bus power)
- A DisplayLink USB adapter/dock (only if your laptop can’t natively drive two external displays)
- Up-to-date software
- Windows Update / macOS update
- Latest graphics drivers (Intel/AMD/NVIDIA) if you’re on Windows
Step-by-Step Instructions
STEP 1 – Identify the ports on your laptop and monitors
Before plugging anything in, I always do a 30-second port check because it saves a lot of “why doesn’t this work?” later.
- On the laptop, look for:
- HDMI (common)
- DisplayPort or Mini DisplayPort (less common on newer laptops)
- USB-C (important: not every USB-C supports video)
- Thunderbolt (USB-C with a lightning icon)—usually supports video and docks very well
- On each monitor, look for:
- HDMI
- DisplayPort
- USB-C (some monitors accept USB-C video and can also charge the laptop)
What you should see when it’s correct: you can map at least two independent video paths from the laptop to the two monitors—either via two ports, or one port plus a dock that provides two display outputs.
If you’re unsure about USB-C video:
If your USB-C port supports DisplayPort Alt Mode/Thunderbolt, it can output video. If it’s data-only, a simple USB-C-to-HDMI cable won’t work (you’ll get “No signal” on the monitor).
STEP 2 – Choose the simplest connection method that fits your hardware
There are three common “best” ways. I recommend choosing the first one you can do.
Option A: Two direct outputs from the laptop (simplest)
Example setups:
- HDMI → Monitor 1, USB-C → Monitor 2
- HDMI → Monitor 1, DisplayPort → Monitor 2
Why I like it: fewer points of failure, less driver weirdness, usually the most stable.
Option B: One cable to a dock, then two monitors from the dock (clean desk setup)
Example:
- Laptop USB-C/Thunderbolt → Dock → (HDMI/DP) → Two monitors
Why I like it: one plug for displays + charging + USB accessories. Great if you connect/disconnect daily.
Option C: DisplayLink (only if your laptop can’t natively do two external monitors)
If your laptop supports only one external display (this happens on some thin-and-light designs and some Mac configurations), a DisplayLink adapter/dock can add another display using USB data + a driver.
Trade-off: it’s usually fine for office work, browsing, admin dashboards, and documents. It’s not ideal for high-refresh gaming or color-critical workflows.
STEP 3 – Connect Monitor #1 and confirm the laptop detects it
- Plug the cable from laptop → Monitor #1
- Turn the monitor on and set the correct input source (HDMI1 / DP / USB-C)
What you should see: the laptop screen may flicker, then the monitor shows your desktop (either mirrored or extended).
If nothing happens:
- Try another port on the monitor (HDMI1 vs HDMI2)
- Swap the cable (bad cables are more common than people think)
- Confirm the laptop port actually outputs video (especially USB-C)
STEP 4 – Connect Monitor #2 (or connect the dock and then Monitor #2)
Now connect the second monitor using your second output path:
- If you’re using two direct outputs, plug the second cable in.
- If you’re using a dock, connect the dock to the laptop first, then connect both monitors to the dock.
My real-world note: when I test this on Windows laptops, the “second display” is the one that most often fails due to the wrong adapter type (USB-C that doesn’t support video, or a cheap dongle that only supports 4K at 30Hz). So if Monitor #2 doesn’t light up, don’t assume the laptop “can’t do it” yet—assume the adapter is wrong first.
STEP 5 – Set “Extend” and arrange the monitors (Windows)
Windows 11 / Windows 10
- Right-click the desktop → Display settings
- Scroll to Multiple displays
- Set it to Extend these displays
Then:
- Click Identify to show numbers on each screen
- Drag the rectangles to match your physical layout (left/center/right)
Set a primary monitor (recommended):
- Click the monitor you want as main → enable Make this my main display
Fix text size and sharpness:
- For each monitor: set Resolution to “Recommended”
- Set Scale so text looks consistent (often 100%–150% depending on resolution and size)
STEP 6 – Set “Extend” and arrange the monitors (macOS)
- Apple menu → System Settings → Displays
- macOS should show both external displays if supported.
- Set the arrangement so your cursor moves naturally across screens.
Important macOS reality check:
Some laptop models only support one external display natively. In that case, macOS may never show the second monitor unless you use a dock/adapter approach designed to add another display (often DisplayLink). If your second monitor isn’t detected on macOS after you confirm cables and inputs, check your exact model’s official display support.
STEP 7 – Tune refresh rate, color, and audio (the “it looks wrong” step)
This is where I spend a few minutes after the screens are working—because “working” doesn’t always mean “comfortable.”
Refresh rate (especially for 144Hz/165Hz monitors):
- Windows: Display settings → Advanced display → set the Hz for each monitor
- If you only see 30Hz/60Hz, the cable/dock may be limiting it.
Color/HDR:
- If one monitor looks washed out, make sure both are on the same “Picture Mode” (Standard/sRGB/etc.).
- HDR can cause mismatched brightness between screens—try toggling HDR off if consistency matters more.
Audio output:
- Windows: click the speaker icon → select the correct output (monitor speakers vs laptop vs headphones)
- macOS: Sound settings → choose the output device
Troubleshooting
Monitor shows “No Signal”
This is the most common issue I hit during setup/testing.
Try in this order:
- Confirm the monitor input source (HDMI vs DP vs USB-C)
- Swap the cable (or try a known-good cable)
- Move the cable to a different port (monitor HDMI1 vs HDMI2, dock port A vs B)
- For USB-C: confirm your port supports video output, not just data
- Restart the laptop with both monitors connected (some docks detect displays on boot more reliably)
Second monitor isn’t detected (but the first works)
On Windows:
- Display settings → Multiple displays → Detect
- Press Win + P and choose Extend
- Update graphics drivers (Intel/AMD/NVIDIA)
On macOS:
- Open Displays settings and see if it appears
- If your model supports only one external display natively, you’ll need a different approach (dock type/adapter technology)
Everything works, but you’re stuck at 30Hz
This usually means the adapter/cable/dock can’t handle the bandwidth.
Common causes:
- Older HDMI versions (or low-quality HDMI cables)
- Cheap USB-C to HDMI dongles that cap at 4K30
- A dock that supports dual displays but only at reduced refresh/resolution combinations
Fix:
- Use DisplayPort when possible (often more reliable for high refresh)
- Use a higher-spec adapter/dock
- Lower resolution or refresh rate if you’re okay with the trade-off
Both monitors mirror each other (you want two separate desktops)
- Windows: Win + P → choose Extend
- macOS: in Displays/Arrangement, disable mirroring if enabled
Laptop gets hot / fans ramp up after adding two monitors
Driving multiple displays increases load—especially at higher resolutions and refresh rates.
What I do:
- Drop refresh rate from 165Hz to 120Hz or 60Hz if I don’t need it
- Turn off HDR if it’s not necessary
- Make sure the laptop is on a hard surface, not fabric
- If using a dock, ensure it’s properly powered and ventilated
Dock is flaky (random disconnects, blinking screens)
This is usually power or firmware/driver related.
Try:
- Use the dock’s official power adapter
- Plug the dock directly into the laptop (not through another adapter)
- Update dock firmware (if available)
- Try a different USB-C/Thunderbolt port on the laptop
Tips for Best Results
- Match connection types when possible (DP+DP or HDMI+HDMI) to reduce weird scaling differences.
- If one screen is much higher resolution, set per-monitor scaling so text size feels similar.
- For productivity, I usually set:
- Laptop lid open with laptop as a third screen (email/chat)
- One external monitor as the primary
- Second external for reference material
- If you dock daily, pick a setup that’s one-cable to laptop (dock) for sanity.
Final Check
Use this checklist to confirm you’re fully done:
- Both monitors show the desktop and don’t drop signal.
- Display mode is Extend, not Duplicate.
- The screen layout matches physical placement (mouse moves naturally).
- Each monitor is on the correct native resolution and desired refresh rate.
- Your main monitor is set correctly (taskbar/menu bar is where you want it).
- Sleep/wake works without losing a monitor.
Final Thoughts
Once you connect a laptop to two monitors the right way, it feels hard to go back—especially for work that involves switching contexts constantly.
The key is choosing the simplest connection method your hardware supports, then being picky about adapters and refresh-rate limitations.
If something doesn’t work, it’s almost always the input source, cable quality, or the wrong type of USB-C/dock—not you missing a hidden setting.


