
Have you ever looked at your laptop and thought, “Wow, when did this screen get so dirty?” Whether it’s smudges from your fingers, a collection of mysterious spots, or just everyday dust, a dirty screen can be both distracting and unhygienic. Cleaning your laptop screen the right way is easier than you think—and yes, you can do it without any fancy tools or risking your device.
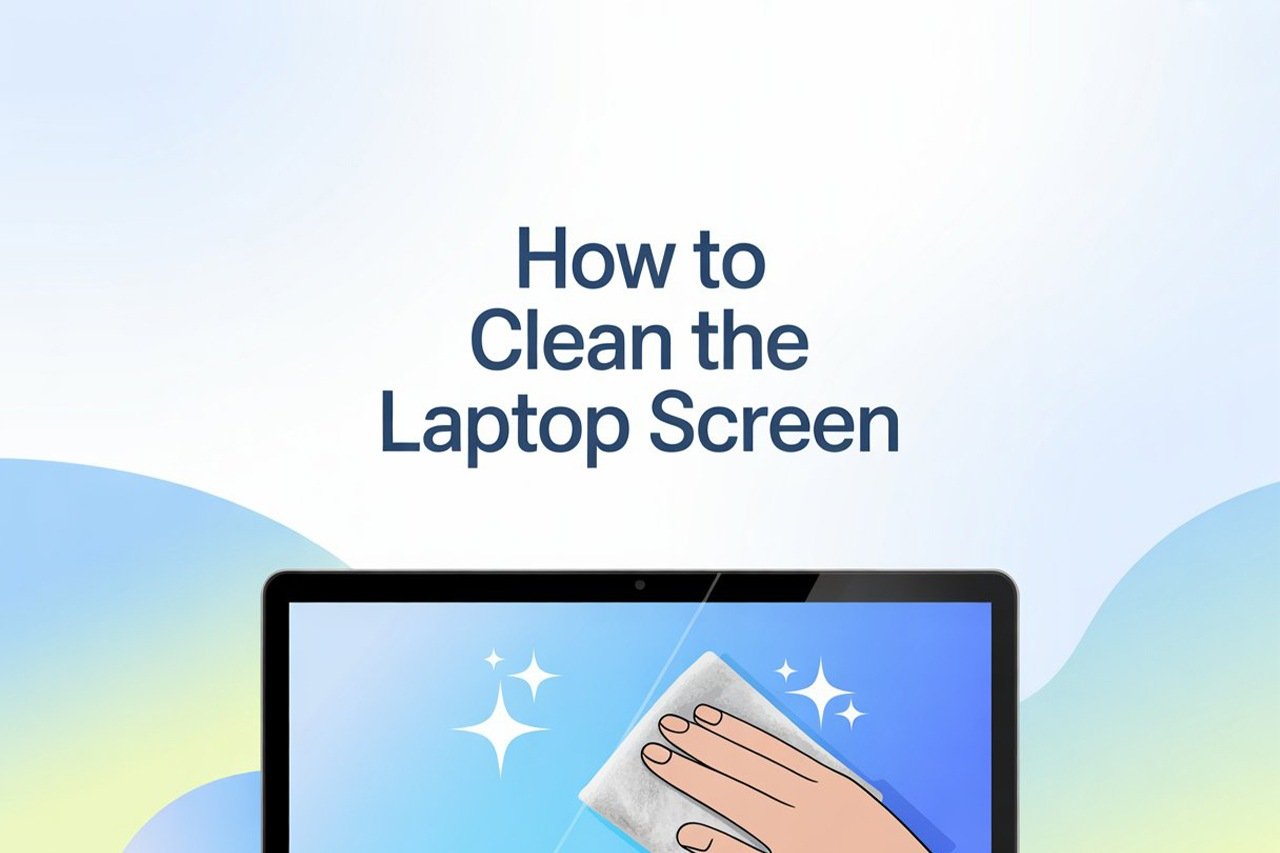
These are the basic steps for cleaning your laptop screen:
- Power down and unplug your laptop.
- Prepare a gentle cleaning solution and gather a soft microfiber cloth.
- Wipe the screen carefully in circular motions.
- Dry and buff the screen to a streak-free finish.
- Practice regular cleaning habits to keep your screen looking brand new.
In the rest of this article, I’ll guide you through each step in detail. We’ll also talk about what cleaning products to avoid, what to do if you run into stubborn spots, and how to keep your screen cleaner for longer. Ready? Let’s get that laptop screen sparkling!
What You’re Going To Need
Before we start, let’s gather everything you’ll need for a safe and thorough clean:
- A clean, dry microfiber cloth (preferably two)
- Distilled water (not tap water!)
- Isopropyl alcohol (70% or less), optional
- Small spray bottle (for mixing solution)
- Cotton swabs (for the edges and corners)
- Can of compressed air (optional, but great for dust)
- Your laptop (powered off and unplugged)
A note about cleaning products:
Never use window cleaners, paper towels, rough cloths, or any cleaners containing ammonia or strong solvents. These can seriously damage your screen and leave behind scratches or residue.
Video Tutorial
If you’re more of a visual learner, this video tutorial walks through the steps of cleaning a laptop screen safely. It’s clear, straight to the point, and a great visual companion to this guide.
Step 1: Power Down and Unplug Your Laptop
I know, it’s tempting to just give your screen a quick wipe while it’s on, but please—don’t skip this step! Turning off your laptop and unplugging it is essential for a couple of reasons. First, it prevents any electrical damage or short-circuiting if moisture gets where it shouldn’t. Second, a black screen makes it much easier to see smudges, dust, and streaks so you know exactly where to clean.
Here’s what to do:
- Save your work and shut down your laptop completely.
- Unplug the power adapter and remove any attached peripherals (mouse, USB drives, etc.).
- If you’re extra cautious, you can even remove the battery if your laptop allows it.
Tips:
Place your laptop on a flat, stable surface with good lighting. This gives you a clear view and prevents the device from slipping.
Step 2: Prepare Your Cleaning Solution and Cloth
Now let’s get your cleaning supplies ready. The most important thing here is to avoid anything abrasive or harsh. The best cleaning solution for most laptop screens is a simple mix of distilled water and isopropyl alcohol, but for regular dusting, just distilled water is often enough.
How to mix a gentle screen cleaner:
- In a small spray bottle, mix equal parts distilled water and 70% isopropyl alcohol.
(For ultra-sensitive screens, use only distilled water.)
Why distilled water?
Tap water contains minerals that can leave spots or streaks, and in some cases, could even harm your screen over time. Distilled water is pure and safe.
Choosing the right cloth:
A clean microfiber cloth is your best friend here. These are soft, lint-free, and won’t scratch the screen. Never use paper towels, tissue, or your shirt sleeve—these can leave scratches or lint.
Tips:
If your microfiber cloth has been used for other cleaning jobs (like glasses or phone screens), make sure it’s freshly washed and dry before using it on your laptop.
Step 3: Wipe the Screen Carefully
Now it’s time to actually clean the screen. You’re aiming for gentle, consistent pressure—no hard scrubbing or aggressive motions.
How to clean:
- Dampen a corner of your microfiber cloth with your cleaning solution. (Do not spray the solution directly onto the screen. Always spray onto the cloth!)
- Wipe the screen gently in small, circular motions. Start from the center and work outward to the edges. This helps to avoid streaks.
- Focus on smudges or fingerprints but resist the urge to press too hard—gentle is the name of the game.
If you run into a stubborn spot:
- Dampen a cotton swab with your cleaning solution and gently rub the spot.
- Repeat with a clean section of your microfiber cloth until the spot disappears.
Tips:
If your screen is especially dusty, you can use a can of compressed air to blow away loose particles before wiping. This prevents scratching from dust.
Step 4: Dry and Buff the Screen
After you’ve wiped away all the smudges and spots, your screen may look slightly damp. Use the dry side of your microfiber cloth—or a second, clean one—to gently buff the screen. This removes any leftover streaks and leaves a crystal-clear finish.
How to buff:
- Use soft, circular motions.
- Avoid the edges if they’re still damp; let them air dry to prevent moisture from seeping into the bezel.
Tips:
Hold your laptop up to the light to check for missed spots. If you see any streaks or residue, repeat the process with a dry cloth.
Step 5: Clean the Edges and Corners
Dirt and dust often collect in the corners and along the edges of your laptop screen, right where it meets the bezel. These areas can be tricky, but it’s easy with a cotton swab or the tip of your microfiber cloth.
How to get into the corners:
- Dampen a cotton swab or twist the corner of your cloth.
- Gently run it along the edges, picking up dust and debris.
If needed:
Use compressed air to blow out any remaining dust, especially if your laptop has vents or tight crevices near the screen.
Step 6: Reassemble and Power Up
Once your screen is clean and dry, you can safely reconnect your laptop to power and turn it on. Admire your streak-free screen—it probably looks even better than you remembered!
How Often Should You Clean Your Laptop Screen?
There’s no hard-and-fast rule, but a good guideline is to give your screen a quick wipe once a week, or whenever you notice smudges and dust building up. If you’re using your laptop daily—especially in shared or public spaces—a more frequent cleaning will help keep things hygienic.
Pro Tip:
Develop a habit of cleaning your screen (and keyboard!) at the same time. Clean tech is happy tech.
What NOT to Use on Your Laptop Screen
Let’s get this straight: laptop screens are delicate, and certain products can ruin them. Here’s a list of things to avoid at all costs:
- Window or glass cleaners (like Windex)
- All-purpose cleaners containing ammonia or bleach
- Abrasive pads, paper towels, or napkins
- Vinegar or lemon juice
- Aerosol sprays directly on the screen
- Water from the tap (unless you’re really in a bind)
These can cause discoloration, streaks, permanent marks, or even strip away anti-reflective coatings.
Special Tips for Different Types of Laptop Screens
Not all laptop screens are created equal. Here are some special considerations based on the type of display you have:
1. Touchscreens
Touchscreens attract fingerprints and grease much faster than non-touch displays. Clean more frequently, and stick to only water or a manufacturer-approved cleaner to avoid interfering with the touchscreen function.
2. Matte Screens
Matte (anti-glare) screens are less prone to showing smudges, but they can be damaged more easily by strong cleaning solutions. Use just distilled water and a clean microfiber cloth.
3. Glossy Screens
Glossy screens look amazing when clean, but show every fingerprint and streak. Use small circular motions and buff thoroughly to achieve a flawless finish.
4. OLED or Mini-LED Screens
These are expensive and delicate—never use alcohol or harsh chemicals. Stick to dry dusting or distilled water only.
Always check your laptop manufacturer’s cleaning guidelines if you’re not sure.
Troubleshooting: Common Cleaning Problems
Let’s tackle some typical questions and mishaps.
Q: My screen still looks streaky after cleaning. What should I do?
A: Use a dry microfiber cloth and buff gently in circles. Sometimes, a little extra elbow grease (but not too much!) is needed. Make sure your cleaning solution doesn’t contain any oils or additives.
Q: There’s a sticky residue that won’t come off.
A: Lightly dampen your cloth with just distilled water and apply gentle pressure. For persistent residue, a tiny bit of 70% isopropyl alcohol can help, but test in a corner first.
Q: Can I use pre-moistened cleaning wipes?
A: Only if they’re specifically labeled for electronics or screens. Otherwise, avoid them—many wipes contain chemicals or leave lint.
Q: What if liquid seeps into the edge of the screen?
A: Immediately turn the laptop upside down and let it air dry. Avoid powering it up until you’re sure it’s dry.
How to Keep Your Laptop Screen Cleaner for Longer
Once your screen is spotless, let’s keep it that way:
- Wash your hands before using your laptop, especially after eating or applying lotion.
- Avoid touching the screen—use the touchpad or mouse whenever possible.
- Keep food and drinks away from your laptop.
- Close your laptop when not in use to protect the screen from dust and accidents.
- Store your laptop in a case or sleeve if you’re on the go.
- Use a keyboard cover to prevent key marks or crumbs from transferring to the screen.
Frequently Asked Questions
Can I use eyeglass cleaner on my laptop screen?
Usually, yes, as long as it doesn’t contain ammonia or strong solvents. Check the label first.
Is it safe to use alcohol wipes on my laptop screen?
Only if they’re 70% isopropyl alcohol or less, and safe for electronics. Avoid anything stronger.
My screen protector is peeling—should I remove it before cleaning?
If the protector is damaged, it’s best to remove it and clean the screen, then apply a new protector.
Can I clean my screen while it’s on?
No—always turn off and unplug your laptop before cleaning.
Final Thoughts
There you have it—the complete, step-by-step guide to cleaning your laptop screen safely and effectively. With the right materials and a gentle touch, you’ll keep your screen crystal-clear and your laptop looking its best. Just remember: a little regular care goes a long way, and avoiding harsh cleaners is the secret to a streak-free, long-lasting display.
Happy cleaning, and enjoy your refreshed laptop!
If you’d like to see more laptop tips, product reviews, or in-depth tech guides, check out my blog at FeatureLens.com!