
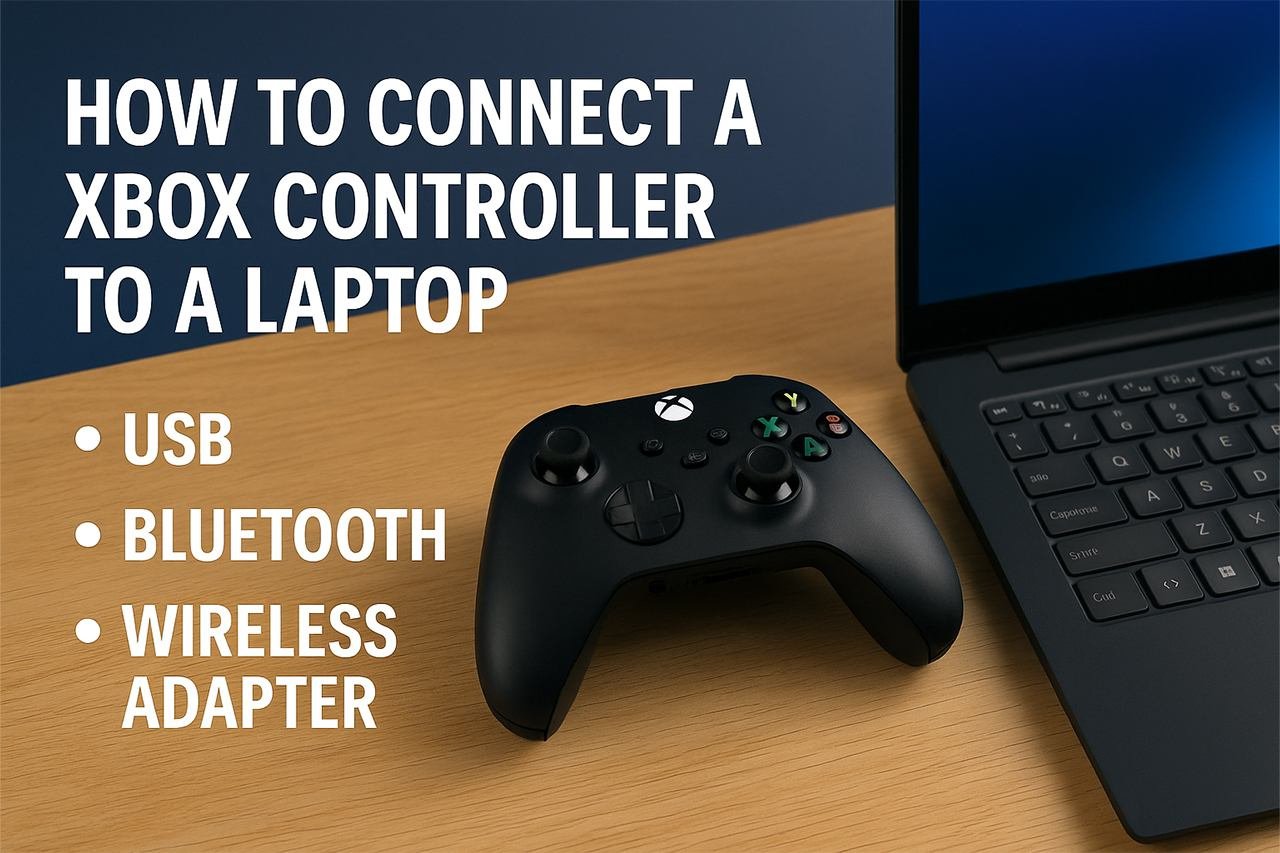
Connecting an Xbox controller to a laptop makes gaming smoother and more comfortable, whether for casual play or long sessions. It’s a quick setup that lets anyone enjoy console-style control on a Windows device without extra effort.
You can connect an Xbox controller to a laptop using a USB cable, Bluetooth, or the Xbox Wireless Adapter. Each method takes only a few steps—plug in a cable for a wired setup, pair it through Bluetooth for a wireless option, or use the adapter for a stronger, low-latency connection.
This guide explains the essentials for each connection type, from what you need before starting to how to customize your controller afterward. It walks through wired and wireless setups, shows how to get the most reliable performance, and ends with simple ways to enhance the overall gaming experience. For detailed instructions, see how to connect an Xbox controller using USB, Bluetooth, or a wireless adapter at Windows Report.
Essential Requirements for Connecting Your Xbox Controller
Connecting an Xbox controller to a laptop requires the right hardware, updated software, and a stable power setup. The type of controller and the laptop’s Bluetooth or USB support determine how smooth the connection will be. Small details like firmware updates and battery health often make the difference between frustration and a flawless setup.
Supported Xbox Controller Models
Not every Xbox controller works the same way with a laptop. Newer models, such as the Xbox One S, Xbox Elite Series 2, and Xbox Series X|S controllers, include built-in Bluetooth. These connect easily to Windows 10 and Windows 11 PCs without extra adapters. Older Xbox One controllers, however, rely on a USB cable or the Xbox Wireless Adapter.
| Controller Model | Connection Type | Bluetooth Support |
|---|---|---|
| Xbox One (original) | USB / Wireless Adapter | ❌ No |
| Xbox One S / X | USB / Bluetooth / Wireless Adapter | ✅ Yes |
| Xbox Series X | S | USB-C / Bluetooth / Wireless Adapter |
| Elite Series 2 | USB-C / Bluetooth / Wireless Adapter | ✅ Yes |
Players can check compatibility by looking at the top shell of the controller. If the Xbox logo is part of the main faceplate, it supports Bluetooth. If it’s on a separate glossy piece, it doesn’t. For step-by-step pairing options, users can refer to this detailed guide on connecting Xbox controllers.
Checking Laptop Compatibility
A laptop must meet a few technical needs to support a wireless or wired controller. Most modern Windows 11 PCs include Bluetooth 4.0 or higher, which is required for a stable connection. If Bluetooth is missing or unreliable, a USB cable or the Xbox Wireless Adapter for Windows provides a better option.
Before connecting, users should:
- Confirm that Windows is fully updated.
- Check for the latest Bluetooth and USB drivers.
- Ensure the laptop supports USB 3.0 for optimal performance.
If the laptop struggles to recognize the controller, testing it through the Game Controllers panel (joy.cpl) can help. This simple check verifies whether the system detects the input before launching a game.
Power and Battery Considerations
Power affects both reliability and performance. A wired controller draws power directly from the laptop, so it doesn’t need batteries. This setup also offers the lowest input delay—ideal for competitive gaming. A wireless controller, on the other hand, runs on AA batteries or a rechargeable pack.
For best results, players should:
- Use fresh alkaline batteries or the official rechargeable kit.
- Keep spare batteries nearby during long sessions.
- Plug in via USB when updating firmware or troubleshooting.
If the controller disconnects often, weak batteries or low charge are usually to blame. Keeping firmware current through the Xbox Accessories app helps maintain stable communication and prevents mid-game dropouts.
Wired Connection: Plug and Play with a USB Cable

Using a wired connection gives players a fast, stable link between their Xbox controller and laptop. It avoids battery drain, reduces input lag, and works easily on most Windows 11 PCs without extra setup.
Compatible USB Cable Types
Not every USB cable fits every Xbox controller. The right cable depends on the model.
- Xbox One Controller: Uses a micro-USB cable.
- Xbox Series X|S Controller: Uses a USB-C cable.
A quality cable ensures steady power and data transfer. Cheap or charging-only cables may fail to connect properly. Look for cables labeled “data sync.”
| Controller Model | Cable Type | Notes |
|---|---|---|
| Xbox One | Micro-USB | Common, widely available |
| Xbox Series X | S | USB-C |
| Older Xbox 360 | Proprietary USB | Not compatible with modern PCs |
A wired controller connection also keeps latency low, which helps during fast-paced games. Players who use a wired setup rarely experience disconnects or lag spikes.
Step-by-Step Wired Setup
- Turn on the laptop. Make sure Windows 11 is updated.
- Plug in the cable. Connect one end to the controller and the other to a USB port on the laptop.
- Power on the controller. Press the Xbox button if it doesn’t turn on automatically.
- Wait for drivers to install. Windows will detect the controller and install the driver automatically.
If the controller lights up and the Xbox logo stays solid, it’s ready to use. Players can test it in the Game Controllers settings panel or inside a game.
For more details on setup steps, this guide from UMa Technology explains how Windows recognizes the device and confirms the connection.
Troubleshooting Wired Connections
If the controller doesn’t respond, start with simple checks. Try a different USB port or cable. Some laptop ports may not provide enough power for stable use.
Check Device Manager to confirm the controller appears under Human Interface Devices. If it doesn’t, update the USB or controller drivers.
Common issues and quick fixes:
- Controller not lighting up: Use a different cable or port.
- Lag or disconnects: Avoid USB hubs; connect directly to the laptop.
- Not recognized by Windows: Restart the PC or reinstall the controller driver.
For persistent issues, SplicedOnline notes that switching to a new cable often solves unresponsive connections.
Wireless Connection via Bluetooth: Cut the Cord

Bluetooth makes it easy to connect an Xbox wireless controller to a laptop without any cables. The process takes only a few minutes if the laptop supports Bluetooth and the controller’s firmware is up to date. Stable pairing depends on using the right settings and keeping both devices within range.
Enabling Bluetooth on Your Laptop
Most Windows 11 PCs come with built-in Bluetooth, but it must be turned on before pairing. To check, open Settings > Bluetooth & devices and toggle Bluetooth to On. If the option is missing, the laptop might need a Bluetooth adapter.
A quick way to confirm Bluetooth status is by looking at the system tray. The small Bluetooth icon should appear near the clock when it’s active. If not, press Windows + A, then click the Bluetooth tile to enable it.
Keep the laptop near the controller—within about 6 to 8 feet—for a reliable connection. Interference from Wi-Fi routers or other wireless devices can cause lag or disconnects.
Tip: Update your Bluetooth drivers through Device Manager for smoother pairing and fewer dropouts.
| Step | Action |
|---|---|
| 1 | Open Settings > Bluetooth & devices |
| 2 | Toggle Bluetooth On |
| 3 | Check for the Bluetooth icon in the taskbar |
| 4 | Update drivers if pairing fails |
Pairing Your Xbox Controller Over Bluetooth
Only Xbox controllers made for the Xbox One S or later support Bluetooth. The easiest way to tell is by checking the top shell—if the Xbox logo is part of the main body, it’s Bluetooth-ready.
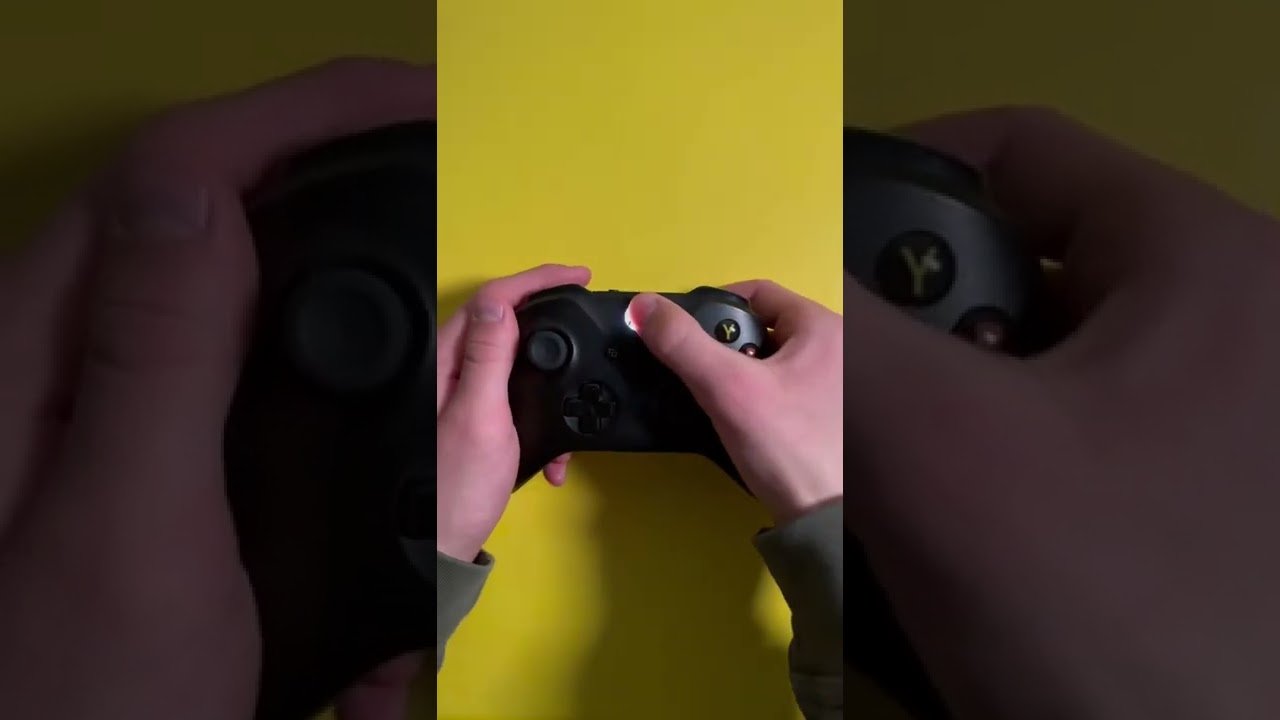
Turn on the controller by pressing the Xbox button. Then hold the sync button near the USB port until the Xbox light blinks rapidly. On the laptop, click Add device > Bluetooth and select Xbox Wireless Controller from the list.
Once connected, the Xbox button stays solid. Players can test inputs using the joy.cpl command or the Xbox Accessories app.
For more setup detail, see this guide on connecting an Xbox controller to a PC via Bluetooth. It includes pairing steps and firmware update advice for Windows 11 users.
Quick Checklist:
- Controller supports Bluetooth
- Laptop Bluetooth is turned on
- Both devices are close together
- Firmware is current
Common Bluetooth Connection Issues
Sometimes the controller refuses to connect or keeps dropping out. The most common causes are old drivers, outdated firmware, or signal interference.
If pairing fails, remove the controller from Bluetooth & devices, restart the laptop, and try again. Plugging the controller in with a USB cable can also trigger a firmware update that fixes many issues.
Avoid connecting too many Bluetooth devices at once. Headphones, mice, and phones can crowd the signal and cause lag.
If the Xbox button flashes endlessly, hold Xbox + Sync for 10 seconds to reset the controller. When all else fails, switching to the Xbox Wireless Adapter offers a more stable connection and lower latency than Bluetooth.
Using the Xbox Wireless Adapter for Maximum Reliability

A stable wireless connection helps avoid lag and dropped inputs during gameplay. Using the Xbox Wireless Adapter instead of Bluetooth gives stronger signals, faster pairing, and fewer interruptions when connecting an Xbox controller to a Windows 11 PC.
Setting Up the Xbox Wireless Adapter
Setup takes only a few minutes. Plug the adapter into a free USB port on the laptop. Windows 11 should automatically install the necessary drivers. If it doesn’t, users can manually check for updates in Device Manager or through Windows Update.
Keep the adapter in an open area. Avoid placing it behind metal objects or near routers to reduce interference. The adapter uses radio frequency signals, which can weaken if blocked by walls or other devices.
A quick setup checklist:
- Insert adapter into a USB port
- Wait for driver installation
- Confirm the adapter light turns on
- Keep the device within 6–9 feet of the controller
More detailed steps for setup can be found in this Xbox Wireless Adapter guide.
Syncing Your Controller with the Adapter
Turn on the Xbox wireless controller by pressing the Xbox button until it lights up. Then press the sync button on the adapter. The light will start flashing, signaling it’s ready to pair.
Next, press the small sync button on top of the controller. When both lights stop blinking and stay solid, the connection is complete. The controller now communicates directly with the adapter, not through Bluetooth.
If pairing fails, unplug the adapter and plug it back in. Restarting the controller or checking for firmware updates in the Xbox Accessories app can also help. These steps usually fix most pairing issues quickly.
Advantages of the Wireless Adapter
The Xbox Wireless Adapter supports up to eight controllers at once, making it ideal for group gaming. It also enables full support for headset audio and chat features, which Bluetooth often limits.
This adapter provides a more consistent signal and lower latency than Bluetooth connections. Players notice smoother response times, especially in fast-paced games.
| Feature | Xbox Wireless Adapter | Bluetooth Connection |
|---|---|---|
| Max Controllers | 8 | 1 |
| Audio Support | Yes | Limited |
| Latency | Very Low | Moderate |
| Range | Up to 20–30 feet | 10–15 feet |
For those who want the most stable and responsive setup, the Xbox Wireless Adapter remains the best option for connecting an Xbox controller to a laptop.
Customizing and Enhancing Your Gaming Experience

A few small tweaks can make a big difference in how an Xbox controller feels and performs on a laptop. Adjusting button layouts, updating firmware, and linking the controller with Game Pass can all improve comfort, responsiveness, and compatibility.
Configuring Settings with the Xbox Accessories App
The Xbox Accessories app lets players fine-tune how their controller behaves on Windows 11. It’s free from the Microsoft Store and works with most modern Xbox controllers.
Inside the app, users can:
- Remap buttons to better fit their play style
- Adjust trigger sensitivity for faster or slower response
- Set vibration strength or turn it off entirely
- Create custom profiles for different games
A simple table helps visualize what can be customized:
| Feature | What It Does | Why It Helps |
|---|---|---|
| Button Mapping | Changes button functions | Improves comfort and control |
| Triggers | Adjusts sensitivity | Faster reactions in shooters |
| Vibration | Alters feedback strength | Reduces hand fatigue |
| Profiles | Saves custom setups | Quick switching between games |
These settings save directly to the controller, so they travel with it—even when switching between PCs or consoles.
Updating Controller Firmware
Keeping the controller firmware current ensures smooth performance and fewer connection glitches. Updates often fix bugs, improve Bluetooth stability, and add support for new features.
Users can check for updates through the Xbox Accessories app. After connecting the controller by USB or Bluetooth, the app automatically scans for the latest version. If one’s available, it prompts a quick update that usually takes just a few minutes.
It’s wise to update regularly, especially after major Windows 11 updates or when pairing with a new device. A fully updated controller tends to respond faster and stay connected more reliably during long gaming sessions.
Integrating with Game Pass and Popular Games
When paired with Game Pass, the Xbox controller turns a laptop into a mini console. Players can stream or download hundreds of titles that already support controller input. Many games automatically detect the controller, showing on-screen Xbox button icons for quick setup.
For cloud gaming, a stable internet connection and the Xbox app make the experience nearly seamless. Users can launch games directly from the app and jump between devices without losing progress.
Popular titles like Forza Horizon 5 and Halo Infinite are optimized for controller play, offering smoother controls and better aim precision. According to SCUF Gaming’s connection guide, using a wired or wireless setup both work well, but wired connections can reduce input lag for competitive players.
Final Thoughts

Connecting an Xbox controller to a laptop doesn’t have to feel like rocket science. Once someone knows the right steps—USB, Bluetooth, or the Xbox Wireless Adapter—it becomes second nature. A quick setup can turn a basic laptop into a comfortable gaming station in minutes.
It helps to remember a few simple tips before jumping into a game:
- Keep batteries charged. A low battery often causes connection issues.
- Update drivers. Windows usually installs them automatically, but checking never hurts.
- Use the right cable. Xbox Series X|S controllers need USB-C, while older ones use micro-USB.
For anyone who prefers visuals and extra detail, Windows Report’s guide on how to connect an Xbox controller to a laptop breaks down each method clearly.
Here’s a quick comparison to keep handy:
| Connection Type | Setup Difficulty | Latency | Notes |
|---|---|---|---|
| USB Cable | Easy | Low | Best for plug-and-play use |
| Bluetooth | Moderate | Medium | Great for wireless play |
| Wireless Adapter | Moderate | Low | Stronger signal and stability |
With these options, players can choose what fits their setup best. Whether gaming on the couch or at a desk, connecting an Xbox controller to a laptop gives them flexibility and comfort without much hassle.