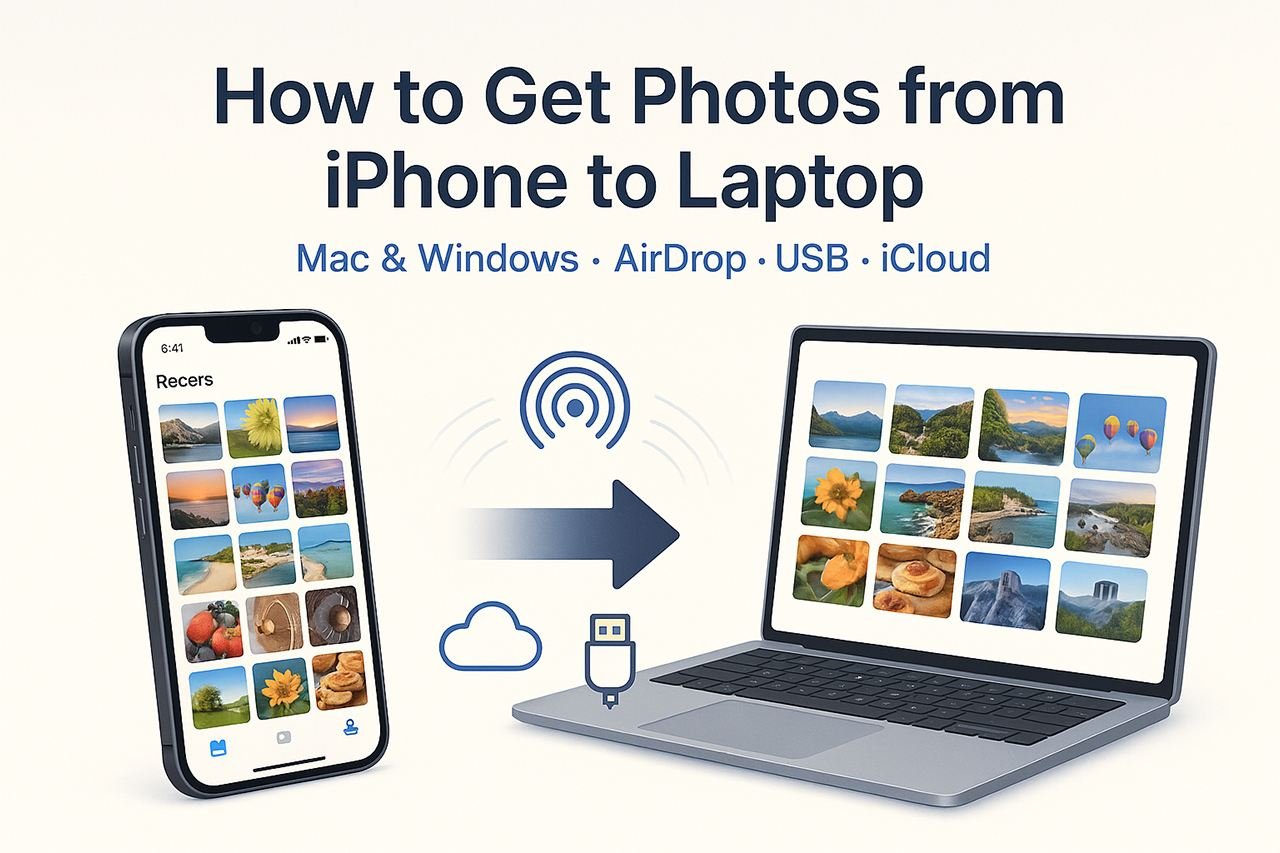
Moving photos off your iPhone shouldn’t feel like a chore. Whether you’re switching to a new laptop, clearing space on your phone, or backing up a lifetime of snapshots, this guide walks you through every reliable method—from the fastest one-time transfers to automatic, set-and-forget syncing.
I’ll show you the best choice for your situation first, then offer alternatives with clear steps, caveats, and troubleshooting.
TL;DR: Pick the Best Method for Your Situation
- Mac, small batches (dozens of photos):
AirDrop — instant, wireless, keeps edits and Live Photos. - Mac, large libraries (hundreds/thousands):
USB cable + Photos app — fastest, most stable, preserves metadata. - Windows, ongoing automatic backup/sync:
iCloud for Windows — photos appear in your Pictures folder automatically. - Windows, one-time large copy without installing anything:
USB cable + File Explorer — quick and direct; use “Automatic” transfer setting to avoid HEIC hassles. - Any laptop, no cable, no apps:
iCloud.com — download originals from your browser. - Cross-platform cloud alternatives:
Google Photos / OneDrive / Dropbox — great if you already use them or want shared libraries.
Before You Start: A Few Settings That Save Headaches
On your iPhone:
- Check iCloud Photos
- Go to Settings › [your name] › iCloud › Photos.
- If iCloud Photos is ON:
- Choose Optimize iPhone Storage (common) or Download and Keep Originals (best for cabled imports).
- If you plan to import via cable soon, connect to power and Wi-Fi so the iPhone can download originals first.
- If iCloud Photos is OFF: photos live only on your iPhone; cable or AirDrop works great.
- Choose how your iPhone sends files to a computer
- Go to Settings › Photos › Transfer to Mac or PC:
- Automatic converts HEIC/HEVC to compatible JPEG/H.264 for Windows or older software.
- Keep Originals preserves HEIF/HEVC, ProRAW, ProRes. Pick this if your apps support these formats.
- Go to Settings › Photos › Transfer to Mac or PC:
- Know your cable
- iPhone 15 series: USB-C to USB-C (or USB-C to USB-A).
- Older iPhones: Lightning to USB-A/USB-C cable.
A high-quality data cable avoids random disconnects.
- Battery and space
- Long imports? Plug both devices into power.
- Big libraries? Ensure free space on your laptop or an external drive.
Method 1 — AirDrop (Mac Only): The Fastest for Small Batches
Best for: A few photos or short videos you want instantly on your Mac.
Steps
- On your Mac, open Finder › AirDrop (or Spotlight: type “AirDrop”).
- On your iPhone, open Photos, select the items, tap Share.
- Tap the AirDrop icon and choose your Mac.
- Accept on Mac; items save to Downloads or open in Photos.
Tips
- If you don’t see the Mac in AirDrop, set AirDrop to “Everyone for 10 Minutes” (or “Contacts Only” if appropriate) on the iPhone: Control Center › AirDrop.
- Toggle Wi-Fi and Bluetooth ON for both devices.
- AirDrop generally preserves edits, Live Photos, and metadata.
When to skip
- Huge batches (hundreds/thousands) can be slower and error-prone. Use a cable.
Method 2 — USB Cable + Photos App (Mac): Fast, Stable, and Complete
Best for: Large libraries, archiving, and when you want full metadata retained.
Steps
- Connect iPhone to Mac via USB.
- Unlock your iPhone and tap “Trust” if prompted.
- On the Mac, open Photos. In the sidebar, select your iPhone under “Devices.”
- Optionally set an import destination album.
- Click Import All New Items or select items and click Import Selected.
Why it’s great
- Speed & stability: USB beats wireless for big transfers.
- Metadata friendly: Captures creation dates, locations, Live Photos, edits.
- Library management: Imports directly into your Photos library.
Pro tips
- If iCloud Photos is ON with Optimize iPhone Storage, originals may need to re-download to the iPhone before importing. Connect to Wi-Fi+power and wait for the small cloud icons to resolve.
- Prefer untouched files? Set Settings › Photos › Transfer to Mac or PC › Keep Originals before import.
Method 3 — Image Capture (Mac): Direct to Folders Without the Photos App
Best for: Photographers who want files straight into a custom folder, external drive, or app workflow.
Steps
- Connect iPhone via USB; unlock and Trust.
- Open Image Capture (search via Spotlight).
- Select your iPhone in the left pane.
- Choose a destination folder at the bottom.
- Select photos (Cmd-A for all) and click Import (or Import All).
Why choose this
- File-system control: You decide exactly where files land.
- Great for external drive archiving or pro workflows (Lightroom, Capture One).
Notes
- Live Photos import as a JPEG/HEIC plus a short MOV (or combined depending on settings).
- Doesn’t manage a Photos library; it’s purely a file transfer.
Method 4 — USB Cable + File Explorer (Windows): Quick One-Time Copy
Best for: Big transfers without installing anything.
Steps
- Connect iPhone to your Windows laptop; unlock the iPhone and Trust the PC.
- Open File Explorer. You’ll see Apple iPhone under “This PC.”
- Browse to Internal Storage › DCIM.
- You’ll see folders like 100APPLE, 101APPLE, etc.
- Copy/paste the photos and videos to your Pictures folder or an external drive.
Tips to avoid format issues
- On iPhone, set Settings › Photos › Transfer to Mac or PC › Automatic to convert HEIC/HEVC to widely compatible formats on transfer.
- Want true originals (HEIC/HEVC/ProRAW/ProRes)? Choose Keep Originals and install the HEIF Image Extensions/HEVC Video Extensions from the Microsoft Store if your apps need them.
Pros & cons
- Pros: No extra software, fast, great for bulk copying.
- Cons: No album structure; Live Photos arrive as separate components; you manage folders manually.
Method 5 — Windows Photos App Import: Guided, Album-Friendly
Best for: Users who prefer a guided import and optional auto-organization.
Steps
- Connect iPhone via USB; unlock and Trust.
- Open Photos on Windows (type “Photos” in Start search).
- Click Import › From a connected device, select your iPhone.
- Choose items, confirm destination and grouping, and Import.
Why use it
- Cleaner interface than File Explorer for selecting and organizing.
- Optional automatic albums and date grouping.
Method 6 — iCloud for Windows: Automatic Sync, Minimal Effort
Best for: Ongoing, hands-off syncing where new iPhone photos appear on your PC automatically.
Setup
- Download/install iCloud for Windows from Microsoft Store (or Apple’s site).
- Sign in with your Apple ID and enable Photos.
- Choose Download new photos and videos to my PC and set the folder (defaults to
Pictures\iCloud Photos). - Optionally enable Upload new photos to send PC photos back to iPhone/iCloud.
How it works
- iCloud keeps your iPhone and Windows in sync over the internet.
- Edits, favorites, and albums (Smart Albums excluded) generally sync.
Good to know
- Requires iCloud storage space if your library is large.
- Works best on steady internet; first-time sync can take hours for big libraries.
Method 7 — iCloud.com (Any Laptop, No Apps Installed)
Best for: Quick access from shared or work laptops where you can’t install software.
Steps
- Visit iCloud.com, sign in, open Photos.
- Select images or albums and click Download.
- Choose Unmodified Originals for exact files, or Most Compatible for JPEG/H.264.
Pros & cons
- Pros: No cable, no app, works anywhere.
- Cons: Browser-based downloading is slower for huge libraries; zip bundles may be large.
Method 8 — Google Photos / OneDrive / Dropbox (Cross-Platform Cloud)
Best for: If you already use a non-Apple cloud or want cross-platform sharing.
Setup (example: Google Photos)
- Install Google Photos on iPhone; turn ON Backup.
- On your laptop, use photos.google.com or the desktop app to access and download.
OneDrive and Dropbox work similarly via their iOS apps’ camera upload features and desktop apps.
Why choose this
- Seamless across iPhone, Windows, Mac, Android.
- Great for sharing libraries or collaborating.
Watch-outs
- Storage quotas and compression policies vary.
- Edits/metadata handling can differ by platform.
Bonus Options
- Email / Messaging yourself: Quick for 1–3 photos, but metadata and resolution may be reduced.
- Snapdrop / Local web tools: Browser-based AirDrop alternatives on the same network (handy if AirDrop isn’t an option and you don’t want cables).
- Shortcuts automation: Create an iOS Shortcut to send the latest shots to a specific cloud folder with one tap.
Format & Quality—What Actually Transfers?
- HEIC vs JPEG: iPhones often store photos as HEIC (smaller, modern). On Windows, set iPhone to Automatic to convert to JPEG on transfer, or install HEIF support to keep HEIC.
- Live Photos: Typically transfer as a still image plus a video component (unless your app combines them). AirDrop to Mac and Apple Photos preserve them best.
- ProRAW/ProRes: Much larger files; use Keep Originals for exact fidelity. Ensure your editor supports them.
- Edits & metadata:
- Apple Photos to Apple Photos (AirDrop/USB) preserves edits and most metadata.
- File Explorer copies export the edited result by default; for unedited originals use specific export options (Photos on Mac: File › Export).
Recommended Choices by Scenario
- I want the easiest, most reliable way (Mac):
Use USB + Photos. It’s fast, preserves everything, and doesn’t depend on Wi-Fi. - I want automatic syncing to my Windows laptop:
Install iCloud for Windows and let it mirror your iCloud Photos. - I’m on a work laptop and can’t install anything:
Use iCloud.com to pick and download what you need. - I shoot ProRAW/ProRes and care about originals:
Set Keep Originals, use USB + Photos (Mac) or USB + File Explorer (Windows), and verify your editors support those formats. - I need just a handful of images fast to a Mac:
AirDrop is king for small transfers.
Step-by-Step Mini Playbooks
A) One-Time: Move 5,000 Photos to a Mac (Archive & Free Up Space)
- On iPhone: Settings › Photos › Transfer to Mac or PC › Keep Originals (if you want untouched files).
- Connect via USB; Trust computer.
- Open Photos on Mac → Select iPhone → Import All New Items into a new album named with today’s date.
- After import, verify counts and spot-check memories, live photos, and videos.
- Optional: Back up your Photos Library to an external drive (Time Machine or manual copy).
- Only after confirming the backup, consider deleting from iPhone or using Optimize iPhone Storage to reclaim space.
B) Ongoing: Windows Laptop, I Want Everything to Just Show Up
- Install iCloud for Windows; sign in and enable Photos.
- Choose Download new photos and videos to my PC and confirm the folder.
- On iPhone: ensure iCloud Photos is ON and connected to Wi-Fi+power regularly.
- Let the initial sync finish; leave your PC on for the first day if your library is huge.
C) Quick Share: 20 Pics to My Mac for a Project
- On iPhone, select the 20 photos → Share › AirDrop → choose your Mac.
- Keep devices close; ensure Wi-Fi/Bluetooth on both, AirDrop visibility set properly.
- Drop them straight into Downloads or Photos, then move them to the project folder.
Troubleshooting: Fixes for the Most Common Hiccups
iPhone doesn’t appear on Mac/Windows
- Use a different cable/port (some cables charge only; no data).
- Unlock the iPhone, respond to “Trust This Computer”.
- On Windows, update the Apple Mobile Device USB driver (reinstall iTunes or the Apple Devices app from Microsoft Store if needed).
- Restart both devices.
AirDrop can’t find your Mac
- On iPhone: Control Center › AirDrop → Everyone for 10 Minutes (or Contacts Only if you’re in the same Apple ID ecosystem).
- Toggle Wi-Fi & Bluetooth off/on on both devices.
- Ensure devices are awake and within a few feet.
HEIC/HEVC won’t open on Windows
- On iPhone: Settings › Photos › Transfer to Mac or PC › Automatic (converts to JPEG/H.264).
- Or install HEIF Image Extensions and HEVC Video Extensions from Microsoft Store.
Not all photos import
- If using iCloud Optimize iPhone Storage, originals might still be in iCloud.
- Connect iPhone to power + Wi-Fi, leave Photos open to trigger downloads, then retry.
- Try Image Capture (Mac) or Windows Photos app (Windows) if File Explorer/Photos acts up.
- Reboot both devices.
Import is painfully slow
- Use a wired connection.
- Avoid USB hubs; plug directly into the laptop.
- Close other heavy apps; disable sleep settings temporarily; keep the iPhone’s screen on and unlocked.
Duplicates
- The Photos app (Mac) offers “Merge Duplicates” (in the sidebar) after import.
- For folder-based workflows, use a deduplicator tool that reads EXIF time stamps and hashes.
Live Photos became stills
- Moving via File Explorer breaks the live pairing.
- Prefer AirDrop (Mac) or Photos app import (Mac) to preserve Live Photos in Apple Photos.
Date/Location wrong after copying
- Ensure you import originals (not edited, not exported with stripped metadata).
- In Photos (Mac), use Image › Adjust Date and Time if needed—ideally only as a last resort.
Organizing After Transfer: Make Your Library Future-Proof
- Folder structure (folder-based users):
Pictures/2025/2025-08/Trip-To-Yellowstone/— consistent, sortable, and portable. - Albums (Photos app):
Create albums by event or person; use People and Places for smart browsing. - Keywords & Captions:
Add searchable keywords for projects/clients; captions help long-term recall. - Backups:
- Keep your main library on the laptop.
- Maintain at least one external drive backup (Time Machine on Mac makes this easy).
- Consider an offsite or cloud backup (Backblaze, iCloud, OneDrive, Google Drive).
Privacy & Storage Tips
- Hidden & Recently Deleted:
Photos in these albums may require Face ID/Touch ID to access; export them intentionally if needed. - Free up iPhone storage safely:
After confirming your laptop/external backups, you can enable Optimize iPhone Storage or delete older items. - Sensitive media:
Avoid transferring over public Wi-Fi; prefer USB or trusted networks/services. - Shared iCloud libraries:
If you use Shared Library, those photos sync like your own; know who else can see them.
FAQ
Q: Will transferring reduce image quality?
A: If you choose Automatic on iPhone for Windows transfers, HEIC/HEVC converts to compatible formats (JPEG/H.264). That can slightly change encoding but keeps resolution. To preserve original formats, use Keep Originals and ensure your laptop supports HEIF/HEVC.
Q: How do I preserve Live Photos?
A: Use AirDrop to a Mac or USB + Photos (Mac) so the Apple Photos library keeps them intact. File-based copies split the still and video.
Q: I have both Mac and Windows. Which path is simplest?
A: For Mac: USB + Photos (best). For Windows: iCloud for Windows for ongoing sync; USB + File Explorer for one-time big moves.
Q: Do edits made on iPhone come across?
A: In the Apple Photos ecosystem (iPhone → Mac Photos), yes. For file-system transfers, you’ll typically get the edited render unless you explicitly export originals.
Q: What about ProRAW and ProRes?
A: Use Keep Originals, and ensure your editor supports them (Photos, Lightroom, Final Cut, DaVinci Resolve, etc.). Files are large; plan storage accordingly.
Quick Comparison
| Method | Platform | Speed | Best For | Preserves Live Photos/Edits | Needs App Install |
|---|---|---|---|---|---|
| AirDrop | Mac | Fast (small sets) | Dozens of items | Yes | No |
| USB + Photos (Mac) | Mac | Fastest | Big libraries | Yes | No (built-in) |
| Image Capture (Mac) | Mac | Fast | File-based control | Live as components | No (built-in) |
| USB + File Explorer | Windows | Fast | Big one-time copy | Live split; edits vary | No |
| Windows Photos app | Windows | Fast | Guided import | Live split; edits vary | Built-in |
| iCloud for Windows | Windows | Internet-dependent | Automatic sync | Yes (within iCloud) | Yes |
| iCloud.com | Any | Moderate | No-install access | Yes (download options) | No |
| Google Photos/OneDrive/Dropbox | Any | Internet-dependent | Cross-platform libraries | Varies by service | Yes |
A Simple Recommendation to Get You Moving
- On a Mac: Plug in a cable and use Photos. It’s the easiest way to import everything quickly and keep Live Photos, edits, and metadata intact.
- On Windows: If you want your iPhone shots to always show up, set up iCloud for Windows. For one big transfer, use a USB cable + File Explorer (set iPhone transfer to Automatic).
Follow the steps for your chosen method above, and you’ll be done—cleanly, safely, and without surprises. If you run into a snag, jump to the Troubleshooting section and match the symptom; the fixes there cover 99% of real-world issues.


