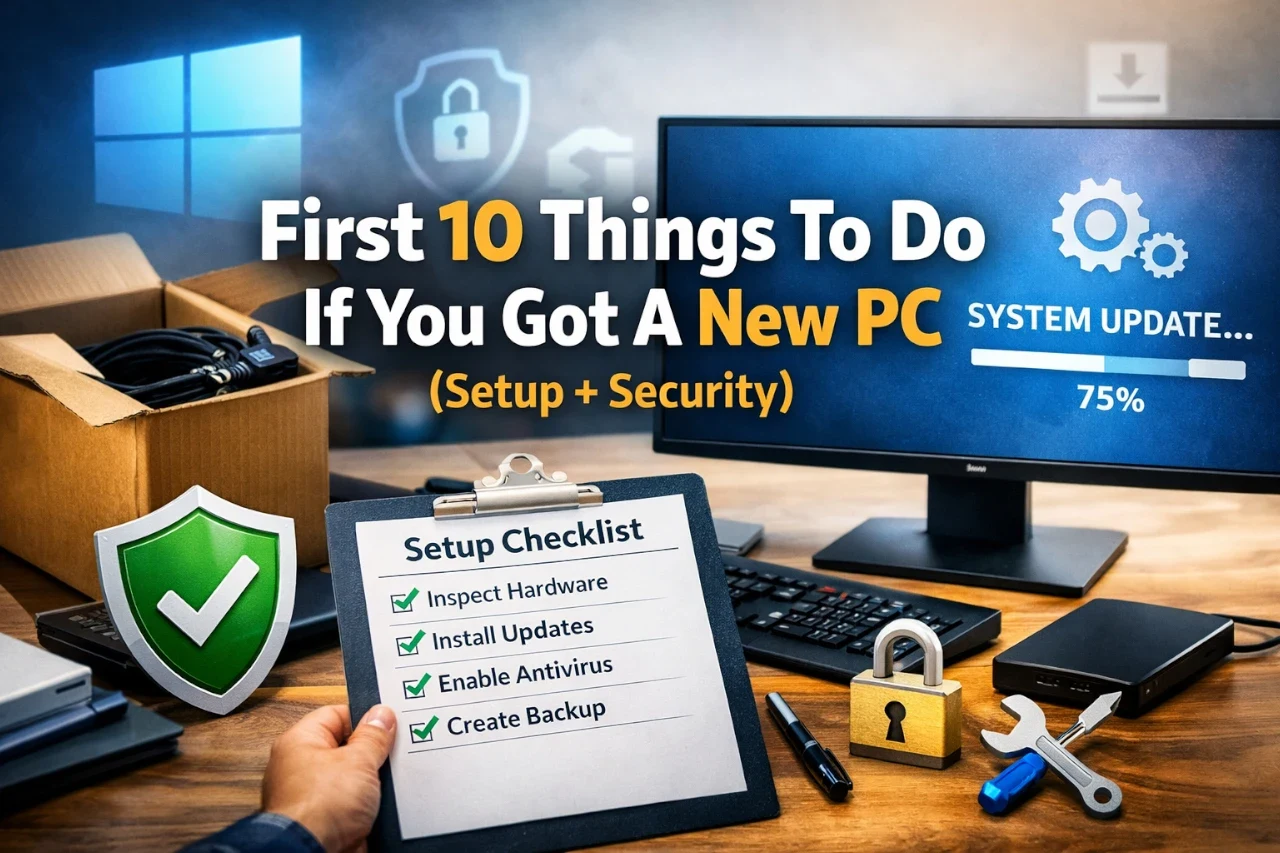
A new PC gives you a clean start, but how you handle the early steps shapes how well it works every day. You want it ready for work, study, or play without hidden problems slowing you down later.
This article shows you how to set up your new PC the right way so it stays secure, runs smoothly, and matches your needs from the start. You will move from basic setup to smart choices that protect your data, improve performance, and help you understand what your PC can really do.
1) Unbox and inspect all hardware for damage

Open the box on a flat, clean surface with good lighting. Remove each item one at a time and set it aside carefully. Keep all packaging until you confirm everything works.
Check the PC case, screen, and ports for cracks, dents, or loose parts. Look closely at the display for lines, dark spots, or uneven brightness. Inspect cables and the power adapter for bent pins or frayed wires, which can cause problems later.
Make sure the box includes all promised items. This usually means the power cable, charger, manuals, and any accessories you ordered. You can follow a basic new laptop inspection checklist to avoid missing small issues.
If you spot damage, do not power on the PC. Take photos right away and contact the seller or manufacturer. Many guides on the first steps after getting a new PC stress early checks, since returns and exchanges work best when you act fast.
2) Connect external cables: power, monitor, keyboard, mouse
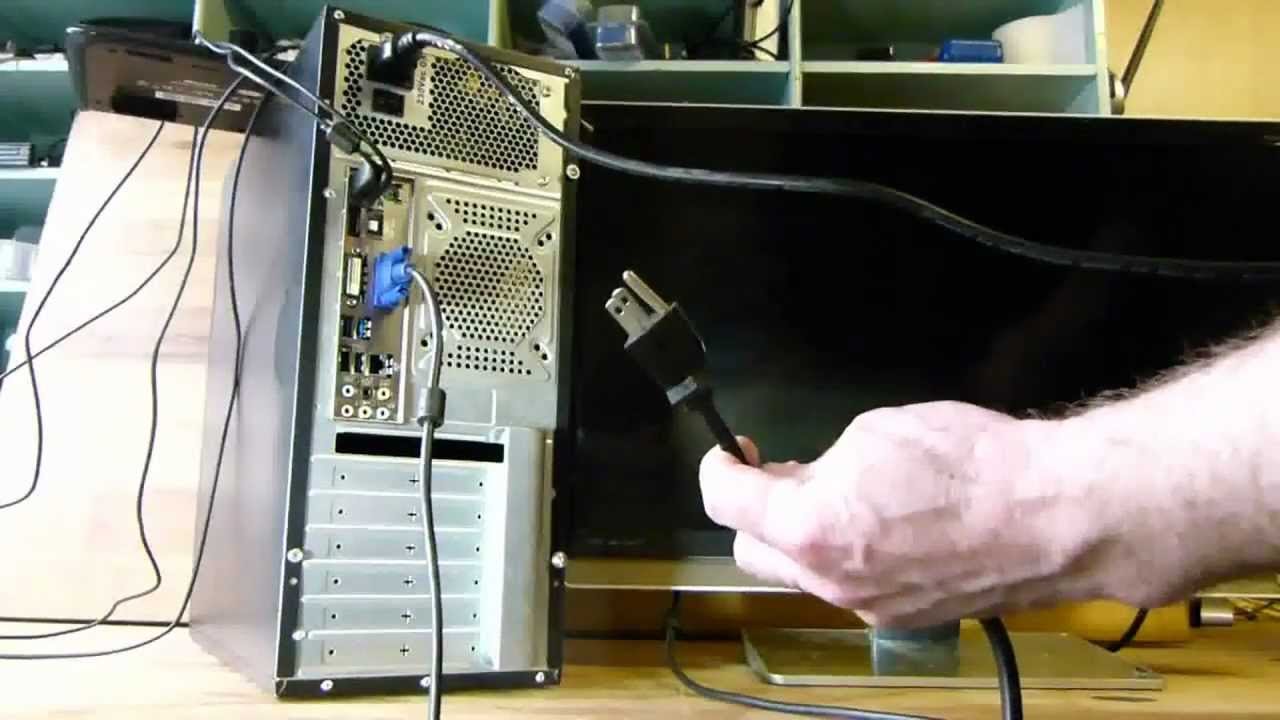
Place your PC near a wall outlet and your monitor. Plug the power cable into the computer, then into a surge protector or wall socket. Make sure the switch on the power supply is set to on, if your PC has one.
Connect your monitor to the PC using HDMI, DisplayPort, or VGA, depending on the ports available. Most modern monitors and PCs use HDMI or DisplayPort. The video ports usually sit on the back of the computer, as shown in guides on how to plug in a PC.
Plug your keyboard and mouse into open USB ports. Wired devices work right away, while wireless models need a small USB receiver. Most setup guides note that keyboards and mice commonly use USB connections, as explained in how to set up a new computer.
Check that all cables fit firmly and do not feel loose. Neat cable placement helps airflow and keeps your desk easier to manage.
3) Power on and complete initial Windows setup

Press the power button and wait for Windows to start. The setup screen will guide you through the first steps. Follow the prompts on the screen and take your time.
Choose your region, language, and keyboard layout. These settings affect how Windows displays text and handles typing. Pick the options that match how you plan to use the PC.
Connect to a Wi‑Fi or wired network when asked. An internet connection lets Windows check for updates and complete setup tasks. It also helps you sign in faster.
Sign in with a Microsoft account or create one if you do not have one yet. This account helps sync settings and gives access to the Microsoft Store. You can also choose local account options if available during setup.
Review the privacy and data settings carefully. Turn off options you do not want, such as extra data sharing. You can change these settings later, but it is easier to set them now.
Windows may check for updates during setup. Let this process finish before moving on. This step helps your PC start in a stable state and prepares it for daily use.
4) Install the latest Windows updates

Start by installing the latest Windows updates. Updates fix bugs, improve stability, and protect your PC from security risks. A new PC often ships with outdated software.
Open Settings, then go to Windows Update. Select Check for updates and install everything that appears. Microsoft explains the full process in its guide on installing Windows updates.
Some updates may take time and require a restart. Let the system finish each step before moving on. Interrupting updates can cause errors.
If your PC runs Windows 10, check if it supports Windows 11. Many new systems qualify, and upgrading early can save time later. Popular Mechanics outlines key steps for preparing your Windows 10 PC for Windows 11.
After updates finish, check again. Windows often installs updates in stages, and a second scan can catch anything missed.
5) Download and install Microsoft Defender or preferred antivirus

Protect your new PC as one of your first steps. A good antivirus helps block malware, phishing, and unsafe downloads before they cause damage.
Windows 10 and 11 include Microsoft Defender by default. It provides real-time protection and works in the background with little setup. You can confirm it is active by opening Windows Security, or follow Microsoft’s guidance for installing Microsoft Defender if it is missing.
If you prefer another antivirus, install only one at a time. Running multiple antivirus tools together can cause conflicts and slow your system.
After installation, update the antivirus right away. Updates add the latest threat data and improve protection.
Run an initial full scan once setup is complete. This scan checks your system and confirms everything starts clean and secure.
6) Set up a system restore point

A system restore point lets you roll back Windows if something goes wrong. It saves system settings, drivers, and installed programs at a moment when your PC works well. It does not change your personal files.
Windows often creates restore points during updates, but you should make one yourself now. Creating one early gives you a safe place to return to if a driver or app causes problems later. Microsoft explains how restore points work in its guide to Windows System Restore.
To create a restore point, open the Control Panel and go to System Protection. From there, you can turn protection on and create a restore point with a few clicks. The steps are similar in both Windows 10 and Windows 11, as shown in this guide on how to create a system restore point on Windows 10 or Windows 11.
Make a new restore point before major changes like installing drivers or large updates. This habit gives you more control if your system starts acting up.
7) Install essential drivers from the manufacturer’s website

Install drivers so your hardware works the right way. Windows installs basic drivers, but they often miss features or updates. You get better support when you use files made for your exact parts.
Start with your motherboard page. Download chipset, audio, network, and USB drivers made for your model. Guides like this list of essential drivers for a freshly built PC explain why these matter.
If you cannot get online, install network drivers first. Many setups fail at this step. This advice matches common tips in essential drivers after a fresh Windows 11 setup.
Next, install graphics drivers from NVIDIA, AMD, or Intel. Use the card maker’s site, not Windows Update. This step improves display support and game performance.
You can also follow a clear walkthrough on how to install drivers on a new PC. Check Device Manager after each install to confirm everything works.
8) Configure Windows privacy and security settings

Start by opening Windows Settings and reviewing your privacy options. You can control location access, camera use, and app permissions in one place. Microsoft explains the steps in its guide on changing Windows privacy settings.
Next, open the Windows Security app and check that built-in protection is on. Make sure antivirus, firewall, and ransomware protection are active. This approach follows the basic setup steps covered in how to configure Windows 11 settings for better security.
You should also review sign-in options and enable a strong password or PIN. If your device supports it, turn on device encryption to protect your files if the PC is lost.
Finally, look through system-wide security and privacy tips that apply to daily use. PCWorld outlines practical options in its guide to Windows 11 security and privacy settings. Adjust only what you understand, and revisit these settings later as you learn more.
9) Create a user account with a strong password
Set up a personal user account as soon as you start using your new PC. This keeps your files, settings, and apps separate from others who may use the computer.
Choose a strong password that is hard to guess. Security experts recommend long passwords, and guidance from NIST explains why simple words and common patterns make accounts easier to break into, as outlined in this advice on how to create a good password.
Use a different password for this account than you use anywhere else. Reusing passwords increases risk, especially if one account gets compromised, which Google highlights in its guide on creating a strong password and a more secure account.
If remembering passwords feels difficult, use a trusted password manager. Tools like these store your passwords safely and help you create strong ones, a practice also recommended in Microsoft’s overview of creating and using strong passwords.
10) Install necessary software like Microsoft Office or browser
Start by installing the tools you will use every day. This usually includes a web browser, office software, and basic utilities. Having these ready makes your PC useful right away.
If you plan to work with documents or spreadsheets, install Microsoft Office or a trusted alternative. Many people choose Office because it works well with school and work files. You can also set it to save files locally or to the cloud, depending on your needs.
Next, install your preferred browser. Windows comes with Edge, but you may prefer Chrome or Firefox. PCWorld explains common setup steps when you set up your new computer, including choosing and configuring a browser.
After that, add apps you use often, such as email clients, video players, or chat tools. XDA also highlights this step in its guide on the first things to do on a new Windows 11 PC.
Install only what you trust and actually need. This keeps your system clean and easier to manage.
Understanding Your PC’s Hardware and Software

Knowing what parts your PC uses and how its software works helps you make smart choices. You can spot limits, avoid problems, and set the system to match how you plan to use it.
Recognizing Your Device Specifications
Your PC’s hardware decides how fast it runs and what tasks it can handle. You should check your CPU, RAM, storage type, and graphics right away. These parts affect speed, multitasking, and gaming or work apps.
You can find this info in Settings > System > About on Windows. You can also use Task Manager for live details like memory use and disk speed.
Key specs to review first:
| Component | Why it matters |
|---|---|
| CPU | Controls overall speed |
| RAM | Affects multitasking |
| Storage | Impacts load times |
| GPU | Handles graphics and video |
If you built the PC yourself, confirm the parts show correctly, as suggested in guides on what to check right after building a new PC.
Getting to Know Your Operating System
Your operating system controls how you use the PC every day. Most new PCs run Windows 11, so you should learn its layout and core tools. Start with the Start menu, Settings, and File Explorer.
You should also check for updates right away. Updates fix bugs, improve security, and add features. Go to Settings > Windows Update and install everything available.
Spend time adjusting basics like display scale, power mode, and sign-in options. Step-by-step tips for this appear in guides on first things to do with a new Windows 11 PC.
Securing and Maintaining Your New PC
You protect your new PC by locking down access, keeping copies of your files, and making smart performance choices early. These steps reduce risk, prevent data loss, and help your system stay fast and stable over time.
Setting Up Accounts and Passwords
Start by signing in with a personal user account instead of a shared one. This step limits who can change settings or access your files. On Windows, create a Microsoft account so you can sync settings and recover access if needed, as recommended in this guide on setting up a new Windows PC.
Use a strong password that mixes letters, numbers, and symbols. Avoid names, dates, or simple words. Turn on two-step verification for your main account and email.
Rename or disable unused accounts. If you share the PC, give others standard user access, not admin rights. This setup reduces damage from mistakes or malware.
Establishing Regular Backup Options
Backups protect you from hardware failure, theft, or accidental deletion. Set them up before you store important files. Windows includes built-in tools like File History and OneDrive sync, which many experts list among the first things to do with a new computer.
Use at least two backup locations:
- Cloud storage for automatic off-site copies
- External drive for local, full backups
Schedule backups to run on their own. Weekly works for most people. Check once a month to confirm files restore correctly. A backup that does not restore has no value.
Optimizing for Ongoing Performance
Install system updates as soon as they appear. Updates fix bugs and close security gaps. Turn on automatic updates so you do not forget.
Review startup apps and disable ones you do not need. Fewer startup programs mean faster boot times. This step appears in many lists of the first 10 things to do if you got a new PC.
Keep storage at least 20% free. Low disk space slows updates and system tasks. Use built-in cleanup tools to remove temporary files.
Finally, install only trusted software. Unnecessary apps drain memory, slow performance, and increase security risk.
Final Thoughts
You get the best results when you take time to set up your PC the right way. Small steps early can help you avoid problems later. This approach also makes daily use faster and more stable.
Focus on security, updates, and basic settings first. Tasks like running system updates, turning on built-in security, and reviewing privacy options protect your data from day one. These actions require little effort but offer clear value.
Keep your system clean and simple. Remove apps you do not plan to use, and install only the tools you need. A lighter system often runs better and feels easier to manage.
Create habits that support long-term use. Set up backups, use a strong password, and learn where key settings live. These habits save time and reduce stress if something goes wrong.
Use trusted guides when you need extra help. Resources like this checklist on things to do on day one with a new PC and this walkthrough on first steps after getting a new computer can reinforce what you set up today.
A well-prepared PC gives you a smoother experience every time you turn it on.