
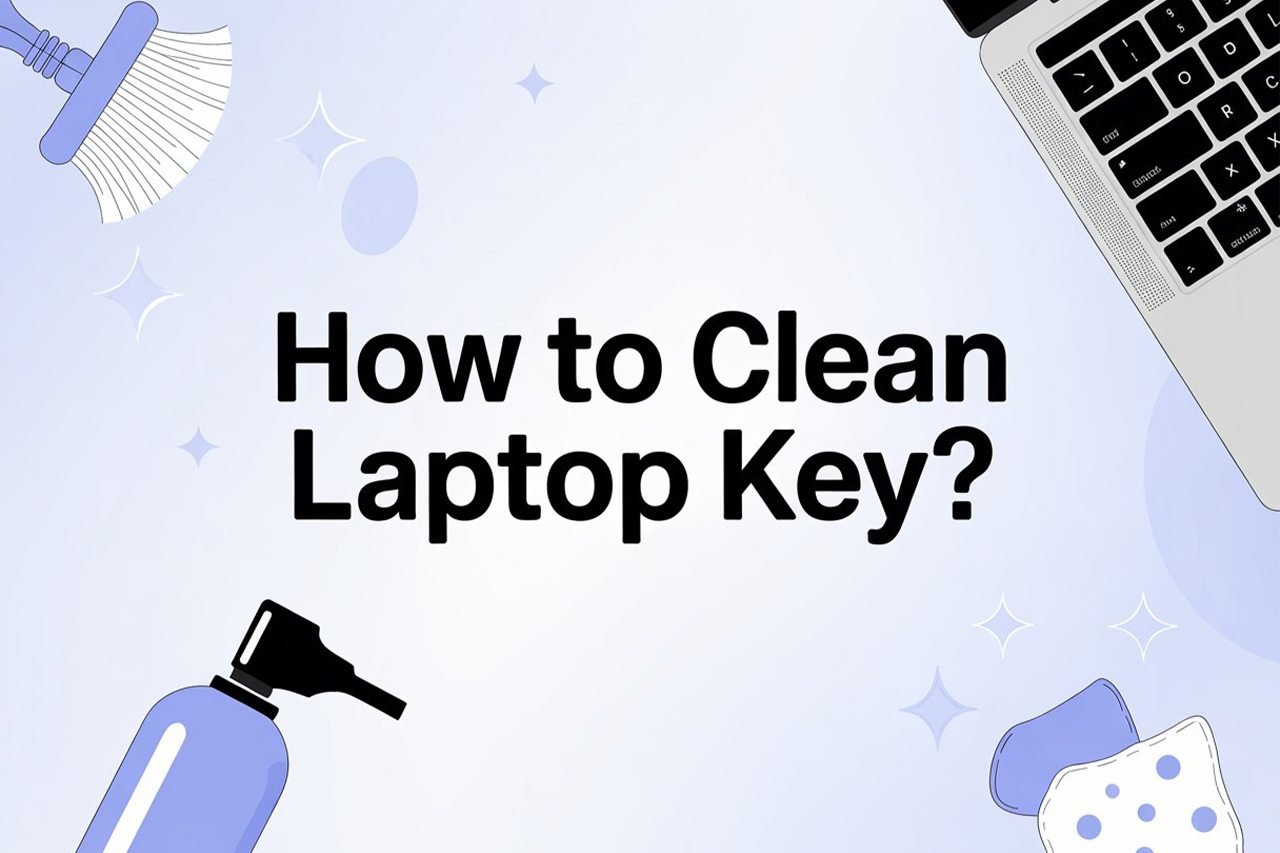
Ever spilled crumbs or noticed your laptop keys feeling sticky? You’re definitely not alone. Figuring out how to clean laptop keys without damaging anything can be a little nerve-wracking, but trust me, it’s easier than you think—and your fingers (and laptop) will thank you.
These are the basic steps for cleaning your laptop keys:
- Turn off and unplug your laptop.
- Gently remove any loose debris and dust.
- Clean the keys with the right tools and solution.
- (Optional) Carefully remove keycaps for deep cleaning.
- Reassemble and dry everything before using your laptop again.
In the rest of this guide, I’ll walk you through each step in detail, including how to clean under the keys, what not to do, and a few quick tips to keep your laptop keyboard looking (and feeling) fresh for years to come.
What You’re Going To Need
Here’s a simple checklist of items you’ll want to have on hand before getting started:
- A can of compressed air (or a small hand blower)
- A soft brush (makeup brush or small paintbrush works great)
- Isopropyl alcohol (70% or higher)
- Microfiber cloths (or lint-free wipes)
- Cotton swabs/Q-tips
- A keycap puller (optional, for deep cleaning)
- Toothpicks (optional, for stubborn grime)
- A bowl of warm water (for stubborn sticky residue)
- A flashlight (optional, helps see dust under keys)
- Patience and a gentle touch!
Video Tutorial
If you prefer to see the cleaning process in action, here’s a straightforward YouTube tutorial that covers cleaning laptop keys without removing them:

Step 1: Turn Off and Unplug Your Laptop
Before you even think about cleaning, power down your laptop. Seriously, this is not the time for shortcuts! Unplug any charging cables or connected devices, and if your laptop has a removable battery, take it out.
This step isn’t just about safety (though zapping your device would ruin your day), but it also prevents any accidental key presses or electrical shorts while you’re working.
Tips:
- Double-check that all lights are off.
- If you’re extra cautious, you can press the power button for a few seconds after shutting down to discharge any lingering electricity.
Step 2: Remove Loose Debris and Dust
Now for the part that’s weirdly satisfying: getting rid of all the visible gunk! Start by turning your laptop upside down and giving it a gentle shake over a trash bin or clean surface. You might be surprised (or disgusted) by what falls out—crumbs, hair, lint, and mystery particles.
Next, grab your can of compressed air. Hold the laptop at a slight angle and give quick bursts between the keys to blow out dust and crumbs hiding underneath. Move systematically across the keyboard. Don’t forget the gaps around the edges!
Tips:
- Use a soft brush to dislodge stubborn dust while blowing air.
- If you don’t have compressed air, a small hand blower or even a gentle breath can help, but avoid using your mouth directly to prevent moisture.
Step 3: Clean the Keys with the Right Tools
Once the loose debris is gone, it’s time to tackle the sticky or grimy stuff. Dip a microfiber cloth or lint-free wipe into a little isopropyl alcohol—don’t soak it, just dampen—and gently wipe the tops of each key.
For those awkward spaces between keys, a cotton swab dipped in alcohol works wonders. Swab around the sides of each key. If you see a stubborn spot, gently rub in a circular motion.
Tips:
- Never pour liquid directly onto the keyboard. Always apply it to the cloth or swab first.
- Isopropyl alcohol dries quickly and is safe for electronics, but still use as little liquid as possible.
Step 4: (Optional) Remove Keycaps for Deep Cleaning
For most laptop users, steps 1–3 are more than enough. But if your keys are especially sticky, jammed, or you want that like-new feeling, you can carefully remove the keycaps.
Warning: Laptop keys are more delicate than desktop ones. Only proceed if you’re comfortable, and check your laptop model online to see if the keycaps are removable.
- Use a plastic keycap puller or a flat plastic tool to gently pry up a corner of the keycap. Avoid using metal tools, which can scratch or bend.
- Once the keycap pops off, set it aside.
- Use a cotton swab dipped in alcohol to clean underneath. Toothpicks are great for gently scraping out grime from tight spots.
- If the keycaps themselves are sticky, soak them in a bowl of warm, soapy water for a few minutes, then rinse and dry thoroughly.
Tips:
- Only remove one or two keys at a time, so you don’t lose track of where they go.
- Take a picture of your keyboard layout before starting, just in case.
- Be extra careful with larger keys (like spacebar, enter, shift), which may have stabilizers.
Step 5: Reassemble and Dry Everything Before Use
Before putting everything back together, make sure every part is completely dry. Reattach each keycap by gently pressing it back into place until you hear a soft click. Test each key to ensure it moves freely and doesn’t feel sticky.
Finally, give the whole keyboard a once-over with a dry microfiber cloth. Let your laptop air out for at least 10–15 minutes before turning it back on, especially if you used any moisture near the keys.
Tips:
- If any keys aren’t snapping back, double-check for debris underneath or look up a reassembly guide for your laptop model.
- A quick test: open a document and try typing every letter to confirm all keys work as expected.
Bonus Section: How to Clean Laptop Keys Without Removing Them
If the thought of removing keys gives you anxiety (you’re not alone!), here’s a quick alternative:
- Compressed air and a soft brush will get rid of most dust.
- For sticky spots, use a slightly dampened microfiber cloth and wrap it around a credit card to slide between rows of keys.
- Cotton swabs are great for corners.
- Dry everything with a clean cloth or allow to air-dry.
This method is fast, safe, and works well for everyday cleaning!
Extra Tips for Maintaining Clean Laptop Keys
Keeping your keyboard clean isn’t just a one-time thing—here’s how to keep it looking and feeling great all year round:
- Wash your hands before using your laptop, especially after eating.
- Keep food and drinks away from your keyboard.
- Store your laptop in a clean, dust-free area.
- Use a keyboard cover if you’re prone to spills or use your laptop in dusty environments.
- Schedule a deep cleaning once every couple of months.
Troubleshooting: What If a Key Still Feels Sticky or Doesn’t Work?
Sometimes, even after cleaning, a key may still feel odd. Here’s what to try:
- Remove and clean the keycap again (if safe).
- Check for broken clips or debris stuck underneath.
- For stubborn sticky residue, use a small amount of isopropyl alcohol on a Q-tip, and carefully clean the contact point.
- If a key is unresponsive after cleaning, restart your laptop. If the issue persists, it could be a hardware problem needing professional repair.
Common Mistakes to Avoid
- Don’t use too much liquid. Excess moisture can damage the keyboard’s internal components.
- Avoid harsh cleaners like bleach or window spray—stick to isopropyl alcohol or gentle soap and water (for keycaps only).
- Don’t force keycaps off if they’re not designed to be removed.
- Never spray compressed air upside down (it can release freezing liquid).
- Don’t eat or drink over your laptop. Yes, we all do it, but one spilled coffee can be the end of a keyboard!
Final Thoughts
There you have it—the complete, no-stress guide to cleaning your laptop keys. With just a few basic tools and a little care, you can get rid of sticky, dirty, or stuck keys and bring your laptop keyboard back to life. Whether you’re giving your laptop a quick tidy-up or tackling a deep clean, these steps will keep your keys looking (and feeling) fresh.
Regular cleaning not only improves your typing experience but can also extend the life of your laptop. So next time you notice your keys getting a little grimy, don’t wait—show your keyboard some love!
And remember, if you ever get stuck or feel unsure, there are plenty of friendly tutorials and support communities online. Happy cleaning!
If you found this guide helpful, don’t forget to share it with a friend who could use a keyboard makeover! If you have any questions or cleaning tips of your own, leave them in the comments below—I’d love to hear from you.