
You often need to capture what’s on your screen, whether you want to save details, share steps, or show a problem. On an HP laptop, Windows gives you several fast and reliable ways to do this without extra setup. Knowing the right option helps you work faster and avoid frustration.

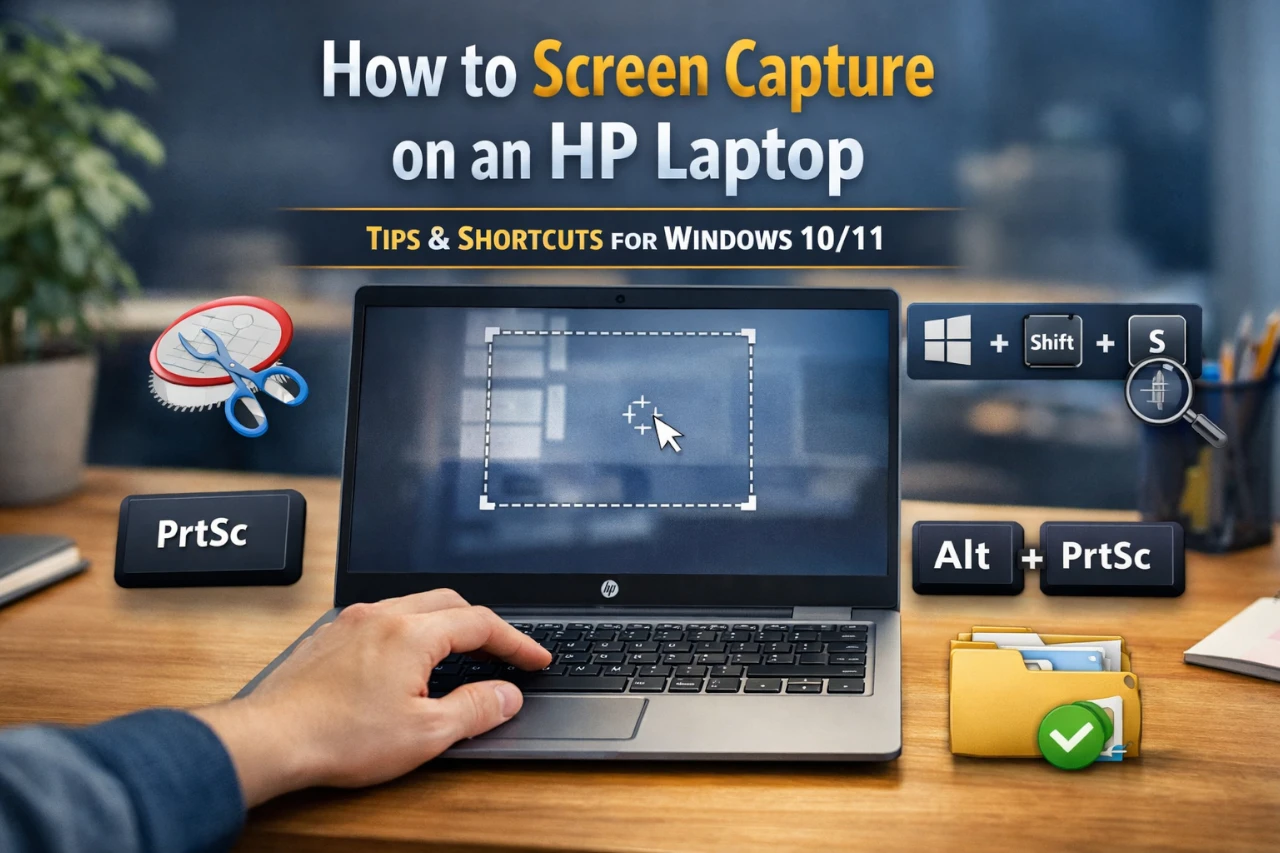
You can screen capture on an HP laptop by using keyboard shortcuts like Print Screen or Windows + Shift + S, which let you grab the full screen, a window, or a custom area in seconds. These built-in tools cover most everyday needs and work across common HP models.
As you keep going, you’ll see how HP and Windows tools handle quick captures, how extra apps add more control, and how simple habits make screenshots easier to save, edit, and find later.
Essential Methods to Screen Capture on HP Laptop
You can screen capture on an HP laptop using built-in keyboard shortcuts. These methods cover full-screen images, single windows, and HP-specific key layouts without extra software.
Using the Print Screen (PrtSc) Key
The Print Screen, PrtSc, or PrtScn key captures everything on your screen.
When you press the PrtSc key, Windows copies the image to your clipboard.
You must paste the image into an app like Paint, Word, or an email.
Press Ctrl + V, then save the file.
This method works on almost every HP laptop screenshot setup.
If nothing happens, your keyboard may require Fn + PrtSc instead.
Key details to remember:
- PrtSc / PrtScn = full screen to clipboard
- No automatic file save
- Works on Windows 10 and 11
For step-by-step visuals, see this guide on how to screenshot on HP laptops using Print Screen.
Windows + Print Screen Shortcut
The Windows + Print Screen shortcut saves time and avoids pasting.
When you press Windows + PrtSc, your screen briefly dims.
Windows saves the screenshot automatically as a PNG file.
You can find it in Pictures > Screenshots.
This option works well when you need many images fast.
It also helps keep files organized by numbering each capture.
Common key labels include:
| Shortcut | Result |
|---|---|
| Windows + PrtSc | Full screen, auto-saved |
| Windows + PrtScn | Same result on some keyboards |
This method is one of the fastest ways to take a screenshot on HP laptops running Windows.
Alt + Print Screen for Active Window
Use Alt + PrtSc when you only want one window.
This shortcut captures the active app instead of the full screen.
Click the window first so Windows knows what to grab.
Then press Alt + Print Screen.
Like the basic PrtSc method, the image goes to your clipboard.
Paste it into an image editor to save or share.
This approach works well for:
- Error messages
- Browser windows
- App settings screens
You can find a clear breakdown of this shortcut in this guide on how to print screen on HP laptops and PCs.
Fn Key Combinations for HP Keyboards
Many HP laptops combine the PrtSc key with function keys.
In these cases, you must press Fn + PrtSc to screen capture.
This design saves keyboard space on smaller models.
It is common on HP Envy, Pavilion, and EliteBook laptops.
You may also see these combinations:
- Fn + PrtSc = full screen
- Fn + Alt + PrtSc = active window
- Fn + Windows + PrtSc = auto-save screenshot
If screenshots fail, check your Fn Lock setting.
This detail often explains why screen capture on HP laptops does not work as expected.
Using Built-In Screenshot Tools on HP Laptops
HP laptops running Windows include built-in tools that let you capture full screens, single windows, or custom areas without extra software. These tools save time and give you control over what you capture, how you edit it, and where you save it.
Snipping Tool Features and Modes
The Snipping Tool comes preinstalled on Windows 10 and Windows 11. You can open it by typing Snipping Tool in the Start menu search.
You can choose from several capture modes:
- Rectangular snip to select a clean box around content
- Free-form snip (also called freeform snip) to draw any shape
- Window snip to capture one open app
- Full-screen snip to capture everything on your display
After you take a snip, the tool opens an editor. You can use a pen, highlighter, or eraser to mark the image. You then save it as a PNG, JPG, or GIF.
This tool works best when you want control and light editing in one place. HP users often rely on it for schoolwork, support tickets, and step-by-step guides. HP explains these options in its guide on how to screenshot on an HP laptop.
How to Use Snip & Sketch
Snip & Sketch offers a faster way to capture and mark screenshots. On newer Windows versions, Microsoft merged it with the Snipping Tool, but many systems still show the Snip & Sketch name.
You can open it from the Start menu or launch it with a shortcut. The app focuses on quick capture and easy edits.
Key features include:
- Pen, pencil, and highlighter tools
- Touch and mouse support
- Simple crop and save options
After you capture an image, a notification appears. Click it to open the editor. From there, you can draw, write, or share the image.
Snip & Sketch works well when you need fast markups. It suits quick notes, arrows, or highlights before you send or save the file. Many step-by-step guides, such as this HP screenshot guide for Windows users, recommend it for everyday use.
Windows + Shift + S Shortcut Explained
The Windows + Shift + S shortcut is the fastest way to start a screen capture on an HP laptop. Press all three keys at once, and your screen dims.
A small toolbar appears at the top. You can choose:
- Rectangular snip for box selection
- Free-form snip for custom shapes
- Window snip for a single app
- Full-screen snip for the entire display
Once you make a selection, Windows copies the image to your clipboard. A notification lets you open it in Snip & Sketch for edits.
This shortcut works well when you need speed. You skip menus and apps, capture exactly what you want, and paste the image into email, chat, or documents. Guides like this overview of screen capture shortcuts on HP laptops highlight it as the most efficient option.
Third-Party Screenshot Tools for Advanced Needs

Built-in Windows tools work for quick captures, but they lack control and automation. Third-party screenshot tools give you better editing, faster sharing, and features like scrolling screenshot capture.
Overview of Popular Tools
Several third-party screenshot tools work well on an HP laptop. Each one fits a different type of workflow.
Common options you will see include:
| Tool | Best Use | Cost |
|---|---|---|
| ShareX | Power users and automation | Free |
| Lightshot | Fast, simple sharing | Free |
| Snagit | Work and training tasks | Paid |
ShareX focuses on control and advanced setup. Lightshot keeps things simple and fast. Snagit targets professional use with strong editing tools. If Windows shortcuts feel limiting, these tools offer more flexibility and save time during repeated screen capture tasks.
Benefits of Lightshot and ShareX
Lightshot works well when you need speed. You press a shortcut, select an area, and share the image in seconds. The editor includes basic tools like arrows, text, and blur. You can upload images quickly and copy links without opening another app. Learn more about how Lightshot compares to built-in tools in this overview of Windows screenshot apps.
ShareX suits you if you want deep control. It supports full screen, window, region, and scrolling screenshot capture. You can set custom hotkeys, auto-save rules, and file names. ShareX also records screens and uploads files to many services without extra steps.
When to Use Snagit
Snagit fits best when screenshots support work tasks. It handles long pages with a reliable scrolling screenshot feature. This helps when you capture web pages, reports, or app menus that extend beyond the screen.
Snagit also includes strong editing tools. You can add callouts, step numbers, and stamps that stay clear and readable. Templates help you keep a consistent look across guides and training files. If you create help docs or tutorials often, Snagit reduces editing time. A detailed breakdown of Snagit’s features appears in this guide to screenshot tools for HP laptops.
Saving, Organizing, and Managing Screenshots

You save time and avoid clutter when you know where screenshots go and how to manage them. Clear file names and folders help you find images fast. Quick fixes also stop common problems like screenshots not saving.
Default Save Locations on HP Laptops
Your save location depends on the method you use. When you press Windows + PrtSc, Windows saves the image right away.
Most HP laptops store these files in your Pictures > Screenshots folder. Windows names them in order, such as Screenshot (1).png. This behavior matches how Windows handles saved captures, as explained in guides about where screenshots are saved in Windows 10 and 11.
Other methods work differently. The PrtSc key alone copies the image to the clipboard. You must paste it into Paint or another app to save it.
The table below shows the difference.
| Method | Saved Automatically | Location |
|---|---|---|
| Windows + PrtSc | Yes | Pictures > Screenshots |
| PrtSc | No | Clipboard only |
| Snipping Tool | No (until you save) | You choose |
Organizing and Renaming Files
You keep control when you organize screenshots as soon as you save them. Start by creating folders based on purpose, such as Work, School, or Support Tickets.
Rename files so they describe the image. Replace default names with clear details like hp-bios-error-2025.png. This habit helps when you search later.
Use simple steps to stay organized:
- Move files weekly from the screenshots folder to long-term folders.
- Use dates at the start of file names for sorting.
- Delete duplicates right away.
If you take many images each day, cloud sync can help. Windows tools support automatic backup, as shown in the Windows 11 screenshot guide from Microsoft.
Troubleshooting Screenshots Not Saving
When screenshots are not saving, start with the basics. Check that you used the right shortcut. Windows + PrtSc must include both keys at the same time.
Next, confirm that the Screenshots folder still exists. If it was deleted or moved, Windows may fail to save images.
Other common fixes include:
- Restart your laptop to clear clipboard errors.
- Check free storage space on your drive.
- Press Fn + PrtSc if your keyboard requires it.
If problems continue, test another capture method like the Snipping Tool. You can also review common Windows screenshot issues covered in guides on taking screenshots on Windows 10 and 11.
Editing and Annotating Your Screenshots

You can improve a screenshot by cropping it, adding notes, and marking key areas. Windows tools on an HP laptop let you edit screenshot files fast and capture and annotate screenshots without extra software.
Basic Editing Options
After you take a screenshot, open it in a built-in app like Paint or Snip & Sketch. These tools let you crop, resize, and rotate images in a few clicks. Cropping removes extra space and keeps attention on the main detail.
You can also adjust simple items like color and brightness. Use these sparingly so text stays clear. Save files as PNG to keep text sharp, especially for help tickets or guides.
Common edits you should make first:
- Crop to remove clutter
- Straighten if the image tilts
- Rename the file with clear words
HP laptops support these steps across Windows 10 and 11, as shown in this HP screenshot editing guide.
How to Annotate Screenshots
When you annotate screenshots, focus on clarity. Use arrows to point, boxes to frame, and short text to explain. Snip & Sketch opens right after you press Windows + Shift + S, which helps you capture and annotate screenshots in one flow.
Use a small set of tools so the image stays clean:
- Arrow or line to show direction
- Highlighter for key text
- Text box for short notes
Keep colors simple. Red or yellow works well on white screens. Avoid long notes inside the image. If you need detail, add it in the message that includes the image.
Using Clipboard for Quick Edits
The clipboard speeds up quick edits when you do not need to save files right away. Press PrtSc or Alt + PrtSc to copy the screen or active window. Then paste it into Paint, Word, or email.
This method helps when you need fast feedback. You can paste, crop once, add a single arrow, and send. Windows also stores recent items if clipboard history is on.
Clipboard workflow
| Step | Action |
|---|---|
| 1 | Capture screen to clipboard |
| 2 | Paste into an app |
| 3 | Make a quick edit screenshot |
| 4 | Share or save if needed |
This approach keeps work moving and avoids extra files.
Final Thoughts

You now know how to screen capture on an HP laptop using built-in Windows tools and simple keys. You can grab the full screen, one window, or a small area. These options work on most HP models with Windows 10 or 11.
You should understand when to use each method. Print Screen works fast. Windows + Print Screen saves images right away. Snipping Tool or Snip & Sketch gives you control and quick edits. A clear walkthrough of these options appears in this HP screenshot methods guide.
Quick picks by task
- Save fast: Windows + PrtSc
- Edit or mark up: Snip & Sketch
- One window only: Alt + PrtSc
| Goal | Best option |
|---|---|
| Speed | Windows + PrtSc |
| Precision | Snipping Tool |
| Sharing help | Snip & Sketch |
If a key does not work, try Fn + PrtSc. Some keyboards need it. Clear tips for common issues also appear in this HP laptop screenshot help article.
You can choose the method that fits your task and move on without extra steps. With these tools, you can capture what you need and keep your work moving.